CAME Z Series Instrukcja instalacji - Strona 4

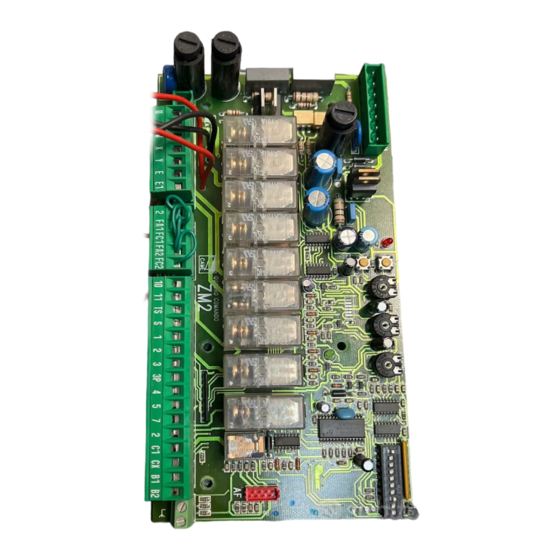
Przeglądaj online lub pobierz pdf Instrukcja instalacji dla Panel sterowania CAME Z Series. CAME Z Series 11 stron. Control board
Również dla CAME Z Series: Podręcznik (8 strony), Podręcznik (20 strony), Podręcznik (4 strony), Podręcznik (4 strony), Podręcznik (17 strony), Podręcznik (17 strony), Podręcznik (13 strony), Podręcznik (13 strony), Podręcznik (16 strony), Podręcznik (16 strony), Podręcznik (12 strony), Podręcznik (12 strony), Podręcznik (18 strony), Podręcznik (8 strony), Podręcznik (20 strony), Podręcznik (12 strony), Podręcznik (12 strony), Podręcznik dokumentacji technicznej (16 strony), Instrukcja obsługi (16 strony), Instrukcje (4 strony), Skrócona instrukcja obsługi (2 strony), Instrukcja połączenia (4 strony), Podręcznik (4 strony), Podręcznik (12 strony), Podręcznik (20 strony), Podręcznik (15 strony), Instrukcja obsługi (12 strony), Skrócona instrukcja obsługi (12 strony), Podręcznik (16 strony)

CAME Z Series Instrukcja instalacji

5 Installation

5.1 Preliminary checks

Before proceeding with the installation, it is necessary to:
• Make sure that the control panel is attached in a protected and impact-free area, that the surface it is attached is solid, and that
it is attached to the surface with proper tools (screws, anchor lugs, and so on);
• Provide for a suitable omnipolar disconnection device with contacts more than 3 mm apart, and independent (sectioned off)
power supply;
Make sure that any connections inside the container (made for the continuity of the protection system) are provided with
additional insulation compared to the other conductive parts inside;
• Make sure that any connections inside the case (that provide continuance to the protective circuit) be fitted with extra insula-
tion as compared to the other conductive parts inside.
5.2 Tools and materials
Make sure all tools and materials necessary are within reach to install the edge in total safety, and in compliance with the
regulations in force. The following figure illustrates the minimum equipment needed by the installer.

5.3 Attaching the control panel

Attach the base of the control panel in a protected area, we
suggest using round head screws with 6 mm diameter with
a Phillips drive head.
Puncture the pre-drilled holes and insert the cable glands with
conduits for the electric wires.
Note: the predrilled holes have different diameters, these being
23, 28 and 37 mm.
After making the necessary adjustments, fix the cover using the
screws supplied.
4