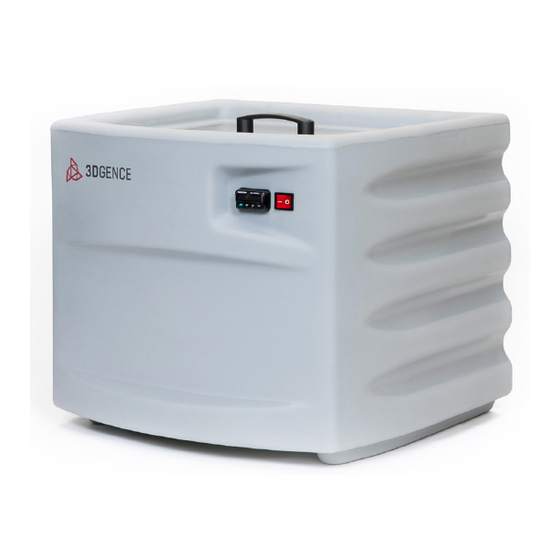
3DGence DT3 Podręcznik - Strona 6
Przeglądaj online lub pobierz pdf Podręcznik dla Drukarki 3D 3DGence DT3. 3DGence DT3 14 stron.

Operation
1. Necessary supplies to operate
• Protective neoprene gloves, as well as protective
eye goggles, should be worn when cleaning parts
at the 3DGence DT3. Having a source of fresh
water nearby is helpful to wash off any solution
that splashes on exposed skin.
• Use stainless steel or plastic tongs to insert and
remove parts. DO NOT use aluminum tongs.
• VXL EX.
• Fresh water (ambient temperature).
2. Adding water to the tank
Verify the drain valve on the back of the unit (see
Figure 2) is closed, that the power cord is unplug-
ged, and that a drain line has been securely instal-
led as described in the Installation instructions,
step 3. Fill the tank until the water is one inch from
the top of the tank (approx. 2.7 liters). Try to antici-
pate the volume of parts being cleaned; adding too
many parts will cause the water level to overflow.
To solve the potential problem reduce the volume
of water initially being added.
Note that there is a level switch approximately
2.5cm below the top of the tank. The 3DGence DT3
will not operate if the water level drops below this
switch.
3DGence DT3
3DGence DT3
3. Powering up the system
Verify the power switch (see Figure 3) on the front
panel is off by depressing the right side of the
switch. As a normal industry safety practice, plug
the power cord into a 230vac ground fault interrupt
outlet. Turn the power switch on by pressing the
left side of the switch. The controller display will
light, and after a few seconds the controller will
display temperature and time. This is also where
the "home page" is located. To go to the "home
page" press the
key repeatedly until tempera-
ture and time are displayed.
Jet action cleaning
Jet action cleaning
