Altrex SHUTTLE Podręcznik - Strona 7
Przeglądaj online lub pobierz pdf Podręcznik dla Sprzęt budowlany Altrex SHUTTLE. Altrex SHUTTLE 20 stron.

4. Assembling the Shuttle
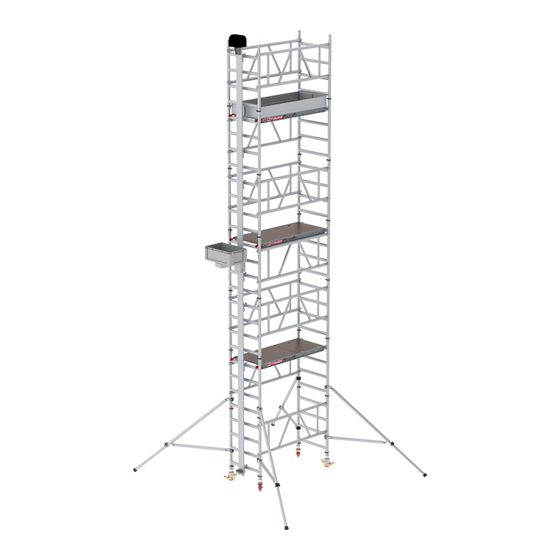
The Shuttle has two versions:
- Shuttle Carrier for transporting small goods with the plastic container upwards.
- Shuttle Solar to transport solar panels upwards.
In the latter case, one Solar end frame is used to easily get the panels onto the
work platform.
Even working height Assemble the scaffold according to step A1 in the
scaffold tower operating instructions.
Uneven working height Assemble the scaffold according to step A2 in the
scaffold tower operating instructions.
1. Mount the basic profile (Part B) level to the mounting frame and
secure it firmly with the clamps.
2. If the solar frame (Part A) is used as an end frame, the clamps
must be mounted 75 cm.
3. Slide the console (Part F / I) over the profile from the top and
lower it to the travel stop.
Tip! Mark the position of the clamps after the first time they are
mounted on the scaffolding frame so that assembly of the scaffolding
in combination with the solar frame will be faster next time.
4. Continue assembly of the scaffold as per steps B1/B2 in the scaf-
fold tower operating instructions.
5. After each repetition of step B1/B2 of the scaffolding, assemble
the next profile (Part D) and secure it with the clamps.
6. Check that the profiles are placed straight/level above each
other.
7. When the working height is reached, place, for using the
Shuttle Solar, the solar frame (Part A) on the same side as the
guide profile.
8. Mount the last profile (Part D) and secure it with the clamps.
9. Mount the edging board (see step C of the scaffolding
manual).
10. Mount the winch on the last guide profile with the clutch and
brake plate towards the scaffolding, and tighten it to the profi-
le.
11. Unlock the safety clutch by positioning the locking bar to the
left.
12. Lower the hoisting strop with the portable drill (powertool) in
combination with socket wrench M10.
13. Attach the lifting eye of the hoisting strop. Make sure that the
hoisting strop hangs neatly flat and straight and avoid twists.
www.altrex.com
7
EN
