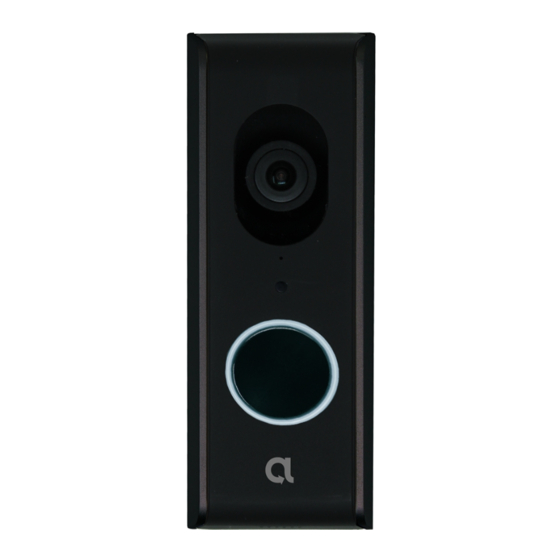
Alula CAM-DB-JS1 Instrukcja instalacji - Strona 4
Przeglądaj online lub pobierz pdf Instrukcja instalacji dla Akcesoria Alula CAM-DB-JS1. Alula CAM-DB-JS1 8 stron. Video doorbell

Camera installation
Whether you have a standard or a digital doorbell, the setup process is the
same.
a. Turn off power to the doorbell
b. Remove the existing doorbell button and disconnect the two wires
c. Attach the wires to the terminals on the back of the Video Doorbell
d. Install the Digital Adapter to the door chime as shown below
e. Proceed to next step below
Digital Adapter
Mounting the doorbell
Note: Do not mount the video doorbell until you have completed the in-app
connection and have the wiring completed. It is best to test the camera's
functionality with the app prior to mounting.
Ensure the installation location is free from moisture and wires are not
exposed
a. Install the bracket where the previous doorbell was using the template,
2 small screws, and if necessary, the anchors.
b. Make sure the wires are fed through the appropriate square opening
in the bracket. Line up the video doorbell on the bracket and slide
down until secure.
c. When installed, turn power back on. Wait until the LED ring repeatedly
flashes 3 times (approx. 90 seconds for the unit to reboot)
angle bracket
Note: It does not matter which wire
connects to which terminal of the
doorbell. It also does not matter which
Digital Adapter wires are connected
to the Front or Trans terminals. If you
have a digital door chime and your
doorbell button has an additional diode
connected to it, do not use it on the new
Video Doorbell.
flat mount
