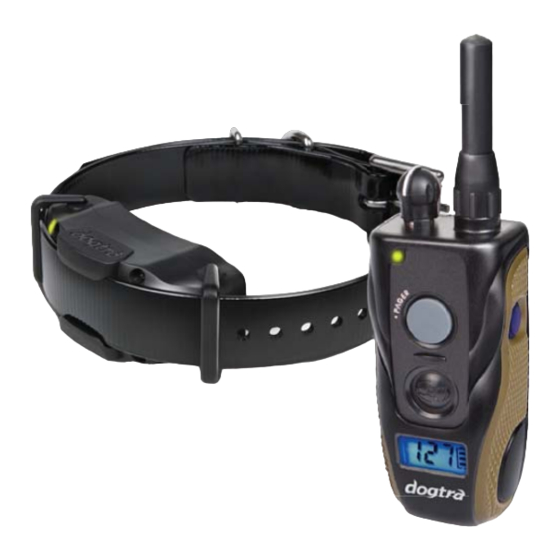
Dogtra Edge RT Instrukcja obsługi - Strona 10
Przeglądaj online lub pobierz pdf Instrukcja obsługi dla Sprzęt fitness Dogtra Edge RT. Dogtra Edge RT 17 stron. Remote controlled dog training collars
Również dla Dogtra Edge RT: Podręcznik ustawień (6 strony), Instrukcja obsługi (15 strony), Instrukcja obsługi produktu (14 strony)

8. Charging the Battery
1. Lift the rubber-charging cap and plug in the charger.
2. Plug the adapter's power plug in to a standard AC
wall outlet. The LED indicator on the transmitter and
receiver/collar will turn red.
3. When the unit is fully charged, the LED indicator will
turn green on both the transmitter and receiver/collar.
Unplug the adapter's power plug from the AC wall
outlet and disconnect the charger from the unit.
4. Place the rubber-charging cap back over the charging
port.
* The transmitter and receiver/collar rubber-charging cap
ensures dirt and debris does not build up in the charging
port area. The unit is waterproof even if the rubber-
charging cap is not fully closed.
16
Using the EDGE RT as a 2 or 3 Dog System
To charge multiple receivers/collars and a transmitter,
combine additional splitter cables as shown above.
Connect 2 splitter cables together to charge all parts of
a 2-dog system, or connect 3 splitter cables together to
charge all parts of a 3-dog system, at the same time.
* Warning
1. Fully charge the unit before the first use.
2. Do not charge the unit near any flammable substances.
3. Fully charge the unit before storing for one month or
longer.
4. Always use Dogtra approved charging adapters.
9. How to Change the Length of the Contact Points
The Dogtra EDGE RT comes equipped with standard
5/8" contact points that can be extended to 3/4" contact
points, for use with dogs with longer coats.
To increase the contact point length from 5/8" to 3/4",
follow the steps below.
1. Using the included adjustment tool with the side marked
5/8", unscrew the contact points counter-clockwise.
2. Place the contact point extension over the exposed
threads, flat side down.
3. Place the contact points over the extensions and tighten
the contact points and extensions clockwise using the
adjustment tool with the side marked 3/4".
17
