DogWatch Performance Series Instrukcja obsługi - Strona 6
Przeglądaj online lub pobierz pdf Instrukcja obsługi dla Produkt do pielęgnacji zwierząt domowych DogWatch Performance Series. DogWatch Performance Series 14 stron. Hidden fence systems
Również dla DogWatch Performance Series: Instrukcja instalacji (10 strony), Instrukcja obsługi (16 strony), Instrukcja obsługi (13 strony)

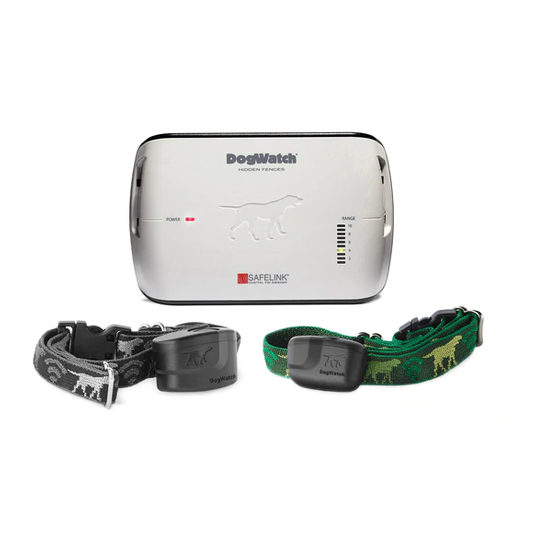
plugged into the transmitter, the Loop Monitor Display (LMD) light will turn on. If the
boundary wire is broken or the signal is interrupted, the LMD light will go out and
an audible warning will sound. If the LMD light is out, consult your Dealer. You
should also check around your property for a visible broken wire.
6. Loop Monitor Display (LMD):The Loop Monitor Display provides a visual indi-
cation of the status of your boundary signal. On traditional boundary wire con
figurations each number on the scale represents the boundary signal distance in
feet, that is being broadcast from each side of the wire. (Minimum setting is one
[1] foot.) A significant change (drop) in signal range could indicate a partial wire
break or other boundary wire problem. Contact your dealer for troubleshooting tips
or to schedule an appointment.
Note: For non-traditional wire configuratons where the boundary wires may be
close to one another, the LMD may not measure the boundary signal accurately
in feet, but is a visual setting reference point. Your DogWatch dealer will explain
the LMD setting and your actual signal range.
7. Range: The radio signal is transmitted from the boundary wire in all directions. The
signal is adjusted by the digital range control on the transmitter to create a sig-
nal field on each side of the wire. The recommended signal field width is 6-10
feet. Your DogWatch Dealer will adjust the radio signal distance according to
the personality and traits of your dog. Consult your DogWatch Dealer first
before making any adjustments yourself.
Signal Field: The signal field has two areas. When your dog first enters the sig-
nal field, he will receive an audible warning. If he continues further into the sig-
nal field, he will receive a correction. The audible area is approximately the first
10% of the total signal field. To prevent your dog from entering the signal field
and remaining in the audible area causing depletion of the battery, the receiver
will transition from an audible warning to a short warning correction after a period
of 15 seconds. This will activate regardless of the mode switch setting, but will
not activate if the receiver is in the "Audible Only" Training Level
(see Phase 1: page 15)
8. Training Mode: This turns the stimulation on and off. If your dog enters the signal
field with the Mode "on," (Full Function) he will receive an audible warning followed
by a correction. When the Mode is "off," (Audible Only) he receives an audible only
warning (see "Signal Field" description above). The Mode should only be turned
off if your dog has been thoroughly trained with the Mode "on" and consistently
responds to the audible warning alone. We recommend that the Mode be left in
the "on" or "Full Function" position.
9. Rate: This adjusts to three levels (1-slow, 2-medium, 3-fast). When your dog
gets a correction, he receives it in a series of pulses. Increasing the Rate means
that he will receive a greater number of pulses per second.
Note: On the back of each transmitter are four small switches. These switches set your transmit-
ter to the correct broadcast frequency. Your dealer will set these switches for your system. Do NOT
change these settings. They are for DEALER USE ONLY.
.................................
.
.................................
3
