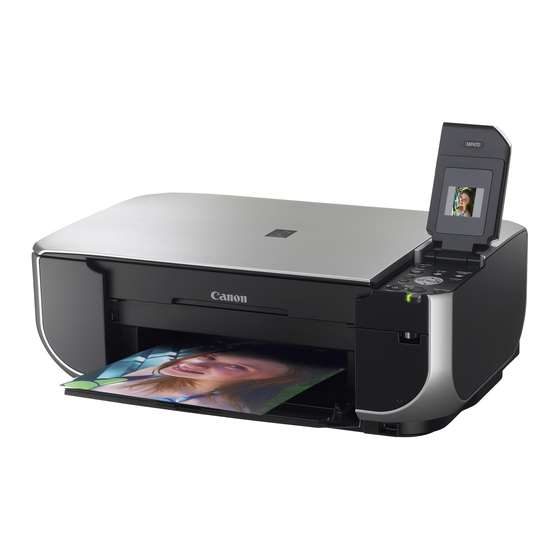
Canon PIXMA MP495 Series Manual de configuração de rede - Página 7
Procurar online ou descarregar pdf Manual de configuração de rede para Impressora tudo em um Canon PIXMA MP495 Series. Canon PIXMA MP495 Series 24 páginas. Cartridge reset
Também para Canon PIXMA MP495 Series: Manual de instalação (22 páginas), Manual da rede (20 páginas), Manual (8 páginas), Manual de configuração de rede (9 páginas), Manual (4 páginas)

- 1. Table of Contents
- 2. The Target Access Point Is Not Displayed (Detected) on the Detected Access Points
- 3. Set Printer Ip Address Screen Is Displayed
- 4. The Machine Is Not Displayed (Detected) on the Detected Printers List Screen
- 5. Problems During Network Setup
- 6. Configuring Wireless Lan Settings Manually
- 7. Other Troubleshooting Tips
- 8. Restoring the Machine's Default Lan Settings to Perform Setup Again
Glossary
•
IP address
A numerical identification assigned to each computer or network device connected to a network.
•
IP address filtering
A function to allow or block traffic from network devices with specified IP addresses.
•
DHCP function
A function to automatically assign required information (IP address, etc.) to computers, printers or other
devices connected to the network.
•
Privacy separator feature
A function to prevent communication between multiple wireless devices (such as computers and
printers) connected to an access point.
WPS
WCN
Additional Computers Setup
Refer to the troubleshooting tip below only when configuring wireless settings by using WPS or WCN, or
when setting up on an additional computer.
Set Up New Printer Screen is Displayed
Check
The screen appears when the machine cannot be detected during setup using WPS or
WCN, or when setting up on an additional computer.
Check 1
Make sure that you follow Check 1, 2, 3, 4 and 6 of "Connection Checklist" on page 11,
then click Redetect.
Proceed with the setup.
Check 2
Is the machine connected to a network?
•
To check if the machine is connected to a network, print the Network
Configuration Page, then make sure that Link Status is set to Active. To print
the Network Configuration Page, press the Maintenance button 11 times to
display the screen shown to the right, then press the Black button or the Color
button.
If the machine is not connected to a network, perform setup again by following the
procedures from "6 Set Up a Wireless Connection" in the printed manual: Getting
Started.
Check 3
Is the IP filtering feature enabled on the access point?
•
For details on how to check the settings of the access point, refer to the manual supplied with the
access point or contact its manufacturer.
Set the access point to accept the IP address of the machine.
•
For details on how to change the settings of the access point, refer to the manual
supplied with the access point or contact its manufacturer.
•
To check the IP address of the machine, print the Network Configuration Page,
then check IP Address. To print the Network Configuration Page, press the
Maintenance button 11 times to display the screen shown to the right, then press
the Black button or the Color button.
Check 4
When obtaining an IP address automatically, make sure that the DHCP function of the
access point is active.
•
For details on how to check the settings of the access point, refer to the manual supplied with the
access point or contact its manufacturer.
Enable the DHCP function of the access point, then click Redetect.
•
For details on how to change the settings of the access point, refer to the manual supplied with
the access point or contact its manufacturer.
Check 5
Is the privacy separator feature enabled on the access point?
•
For details on how to check the settings of the access point, refer to the manual supplied with the
access point or contact its manufacturer.
Disable the privacy separator feature.
•
For details on how to change the settings of the access point, refer to the manual supplied with
the access point or contact its manufacturer.
