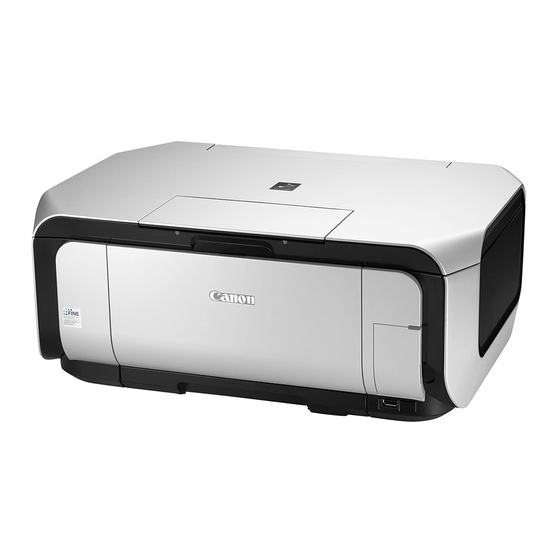
Canon PIXMA MP610 Series Manual de serviço - Página 24
Procurar online ou descarregar pdf Manual de serviço para Impressora tudo em um Canon PIXMA MP610 Series. Canon PIXMA MP610 Series 45 páginas. All-in-one photo inkjet printer
Também para Canon PIXMA MP610 Series: Começar aqui (2 páginas), Manual suplementar (6 páginas), Brochura e especificações (2 páginas), Manual de início rápido (40 páginas), Manual de início rápido (2 páginas)

- 1. Table of Contents
- 1. 1 Maintenance
- 1. Adjustment, Periodic Maintenance, Periodic Replacement Parts, and Replacement Consumables by Service Engineer
- 1. Customer Maintenance
- 1. Special Tools
- 1. Serial Number Location
- 2. 2 List of Error Display / Indication
- 2. Operator Call Errors
- 2. Service Call Errors
- 2. Other Error Messages
- 2. Warnings
- 2. Troubleshooting by Symptom
- 3. 3 Repair
- 3. Notes on Service Part Replacement
- 3. Adjustment / Settings
- 3. Verification Items
MP610 --- 3. REPAIR
3-3. Adjustment / Settings
(1) Paper feed motor adjustment
1) When attaching the motor, fasten the screws so that the belt is properly stretched (in the direction indicated by the blue arrow in the
photo below).
2) After replacement, be sure to perform the service test print, and confirm that no strange noise or faulty print operation (due to
dislocation of the belt or gear, or out-of-phase motor, etc.) occurs.
- The screws securing the paper feed motor may be loosened only at replacement of the paper feed motor unit.
DO NOT loosen them in other cases.
(2) Document pressure plate sheet (sponge sheet) replacement
1) Peel off the cover sheet from the double-sided adhesive tape on the back of the document pressure plate sheet.
With the long-side down, position the lower-right corner of the document pressure plate sheet at the scanning reference point on the
platen glass (front right where the red lines cross in the photo above).
2) Slowly close the document pressure plate while maintaining the hinge position. The document pressure plate sheet will attach to the
plate.
3) Open the plate to confirm the following:
- No extension of the sponge edges over the mold part of the upper scanner cover.
- No gap between the platen glass reference edges and the corresponding sponge edges.
22 / 43
TABLE OF CONTENTS
