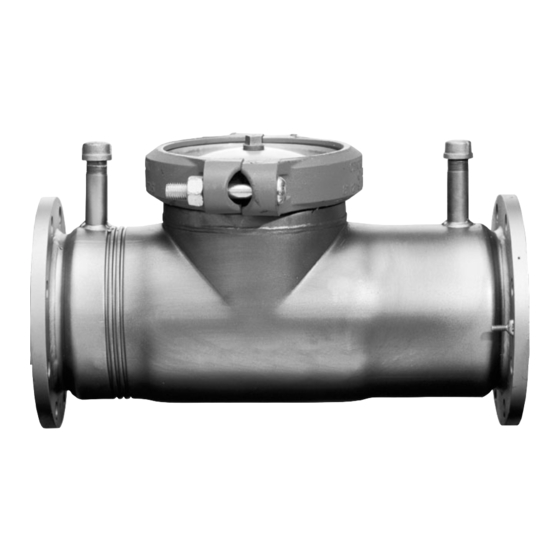
AMES 1000SS Series Manual - Página 4
Procurar online ou descarregar pdf Manual para Unidade de controlo AMES 1000SS Series. AMES 1000SS Series 4 páginas. Detector check valve assemblies sizes: 4" – 10" 100-250mm

8" and 10" Knuckle Joint Assembly Removal and Installation
Clapper Retainer
Diagram 1
1.
Shut down water system and lock out if possible.
2.
Loosen vent screw in lid slowly to ensure system pressure
has been relieved.
3.
Loosen and remove all inspection port bolts and remove lid
and gasket from valve.
4.
Install proper size clapper retainer clip (see diagram 1). Be
sure clip is pushed to within
5.
Loosen equally the two knuckle joint mounting bolts, until
assembly is free. As bolts are loosed linkage will release
slightly and lock clapper retainer clip in place.
6.
Remove knuckle joint from body assuring clapper retainer
clip is not disturbed, as preloaded knuckle joint springs have
considerable tension in this position.
7.
Bolt the knuckle joint to the outside of the body using the new
3
⁄
" bolts supplied with the new knuckle joint (see diagram 2).
8
Repair Parts
Item #
Part Description
1
Knuckle Joint Assembly (Complete Unit)
2
Clapper Plate With Attached Link (not shown)
3
Springs
4
3/8" Stainless Steel Bolts
5
Washer (not shown)
6
Bronze Seat (Replaceable in Line)
7
Seat O-Ring
8
Cover Plate
9
Groove Coupler
10
Clapper Retainer Clip (Diagram 1)
A Division of Watts Industries
875 National Drive • Suite #107 • Sacramento, CA 95834 • Phone: 916-928-0123 • Fax: 916-928-9333
RP/IS-A-1000SS 0310
1
⁄
" of linkage.
2
Qty.
1
1
3
2
2
1
1
1
1
1
Housing Half Section
1
6
©Ames Co. 2002
8.
Push on clapper plate to release clapper retainer clip,
remove and slowly release tension on clapper. Unbolt
knuckle joint assembly from outside of body.
9.
Bolt replacement knuckle joint assembly to body as in step 7.
10. Push on clapper plate to extend springs and install clapper
retainer clip, making sure springs are seated on pins. Unbolt
knuckle joint assembly from body bolt hole.
3
11. Insert two new
mounting holes in body. Position knuckle joint in place inside
body, and finger tighten both bolts.
12. Torque knuckle joint mounting bolts to 60 inch-pounds.
Remove clapper retainer clip.
13. Replace lid and gasket.
Ames Part No.
4"
6"
7015552
7015552
7011413
7011413
7011323
7011323
7014619
7014619
7014585
7014585
7011163
7011163
A300706
A300706
7011016
7011016
A605530
A605530
7013913
7013913
8
9
7
www.amesfirewater.com
EDP# 7016818
4
Direction of flow
Diagram 2
⁄
" mounting bolts and washers through
8
Knuckle Joint Assembly
4
2
1
3
Printed in U.S.A.
