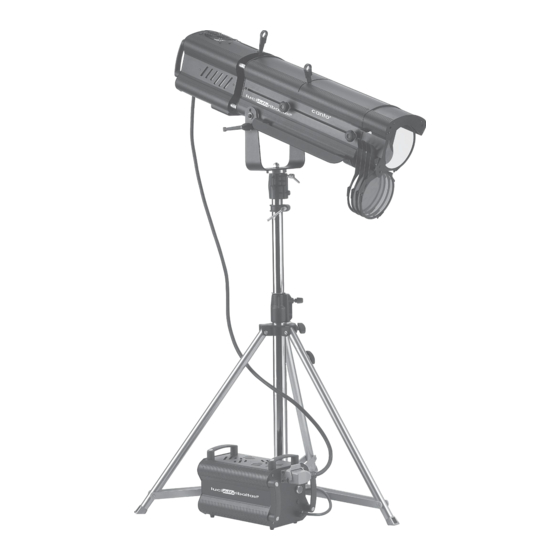
CANTO 2000 Manual de instruções - Página 9
Procurar online ou descarregar pdf Manual de instruções para Destaque CANTO 2000. CANTO 2000 11 páginas. Follow spotlight metal halide and tungsten-halogen

14. FOCUSING
This fixtures features a variable beam angle from 8° to 22°. The variable beam is altered by adjusting the
front and rear zoom lenses in relation to each other. The front lens defines the beam spread (spot size),
the rear lens the focus degree of "softness" or "hardness" of the beam edge or shutters.
15. FADE-OUT MECHANICAL DIMMER (DOUSER)
The followspot is fitted with an adjustable mechanical dimmer to dim and finally douse the beam. The
fade-out/douser mechanical control lever is located between the two zoom lenses.
16. CLEANING AND MAINTENANCE
To insure maximum performance of the product, regular maintenance service should be carried out.
Please make sure the spotlight has cooled and is disconnected from its power source when doing this.
General Maintenance
• Clean all reflective parts such as reflectors, mirrors and lenses. Open the housing if necessary.
• Check the bulb and the lenses and replace any visibly damaged component.
• Clean air ducts and fans in order to allow proper ventilation.
• Check internal and external wiring and replace any cable which appears to be damaged by heat or
mechanical agents.
Cleaning of Optical Components
• Lamphouse lenses:
a. Remove the bulb.
b. Open the lamphouse compartment access panel by removing the two 4mm cross-head screws on the
top of the lamphouse tube.
c. Dismount the lens/mirror assembled block by removing the two 5mm cross-head screws.
d. Clean the lens/mirror assembly with a soft cloth through the top opening. To remove the lens/mirror
assembly from the lamphouse, see "Replacement of Cooling Fan" below.
• Zoom lenses:
Access the lenses through the sliding doors located on the bottom of the lens tube and clean with a
soft cloth.
Replacement of Cooling Fan
a. Remove the bulb.
b. Open the lamphouse compartment access panel by removing the two 4mm cross-head screws on the
top of the lamphouse tube.
c. Remove the (8) tap screws from the outer perimeter of the lamphouse back cover plate. Pull the back
cover rearward, and the lamphouse base will slide from the housing, allowing access to the fan.
7
