Follett 5100 Começar a trabalhar - Página 2
Procurar online ou descarregar pdf Começar a trabalhar para Leitor de código de barras Follett 5100. Follett 5100 2 páginas. Corded scanner
Getting Started with the Follett 5100
Installation
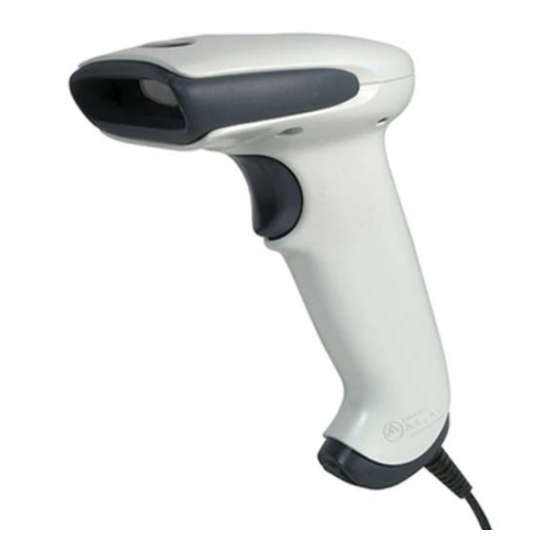
1. Carefully insert the modular connector into the bottom of the 5100 until
you feel it click in place (Figure 1). To remove the cable, insert a paper
clip into the cable release hole. (Figure 2).
Figure 1
NOTE: The modular connector cable is specifi cally designed for the
5100 and can only be replaced by a cable designed for this
model.
2. Locate the USB port on the back of your workstation and insert the
USB connector. Make sure that the connector is fully seated in the port.
3. Test your 5100 scanner by using the following procedure:
•
On your workstation, launch a text-editing program such as
SimpleText or Notepad.
•
Scan the test barcode below.
•
Check to see if the number 12345 appears in the text-editor. If the
number does not appear, contact Follett Technical Support at
(800) 323-3397.
NOTE: For best results, scan all barcodes from a distance of 7 to 10
inches.
Page 2 of 4
10940A Rev 1.0 11-11 A Copyright 2011 Follett Software Company
Figure 2
Getting Started with the Follett 5100
Setting Operational Modes
4. Program your preferred sound level by scanning the appropriate
barcode below.
5. If you would like your 5100 scanner to automatically trigger when a
barcode is placed in front of it, scan the Auto-trigger Mode barcode
below. You can return your 5100 to Manual mode by scanning the
Manual Trigger Mode barcode.
NOTE: In auto-trigger mode, the laser will be constantly active.
10940A Rev 1.0 11-11 A Copyright 2011 Follett Software Company
Page 3 of 4