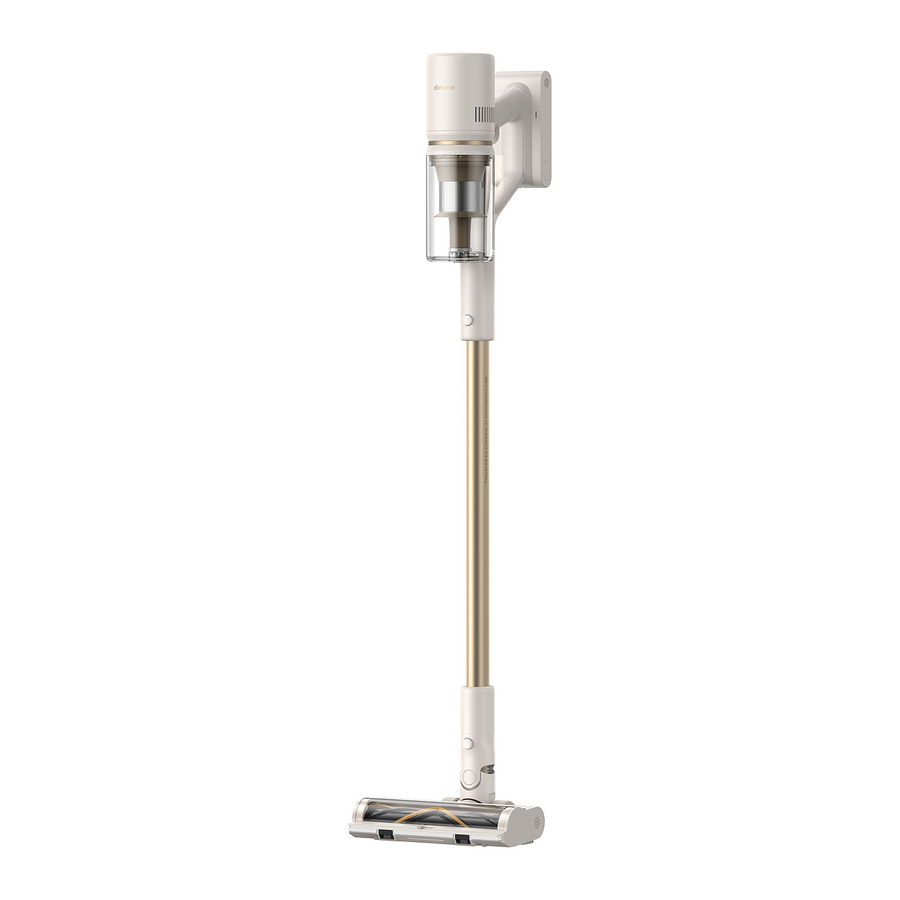
Dreame U20 Manual do utilizador - Página 8
Procurar online ou descarregar pdf Manual do utilizador para Aspirador de pó Dreame U20. Dreame U20 10 páginas. Cordless stick vacuum

Accessories
EN
Note: The illustrations in this manual are
indicative only. The actual product may
differ.
1. Extension Rod
2. Combination Tool
3. Charger
4. Multi-Surface Brush
5. Wall Mount (Including screw × 2, wall
plug × 2)
6. Motorized Mini-Brush
Fig. A
Components
1. Power Button (Press to turn on/Release
to turn off)
2. Suction Level Status Indicator
Turbo
Med
Eco
3. Suction Level Switch
4. Dust Cup
5. Dust Cup Release Button
6. Multi-Surface Brush
7. Antistatic Contact
8. Battery Status Indicator
9. Battery Pack Release Button
10. Charging Port
11. Extension Rod Release Button
12. Extension Rod
13. Brush Release Button
Fig. B
Installation
• Vacuum and Accessories Installation
Fig. C-1
• Wall Mount Installation
The mount should be installed in a cool,
dry place near a power outlet. Make sure
the installation area is clear of any pipes
such as gas or water lines, and air ducts,
electric wires and cables, or drainage
12
lines.
1. Before installation, measure the wall
in the height of 102 cm (40.2 inches)
above the ground.
2. Mark and drill two 8 mm (0.315 inch)
diameter holes into the wall with an
electric drill.Insert the wall plugs into
the holes.
3. Align the position holes on the mount
with the holes on the wall. Fasten it to
the wall with the included screws.
Fig. C-2
Operation
Charging
• Connecting the charger to the wall
mount
1. Rotate the clip in the bottom of wall
mount 90 degrees counterclockwise to
remove it from the mount.
2. Insert the power cord into the notch on
the clip.
3. Rotate the clip 90 degrees clockwise
until it clicks into place.
Fig. D-1
• Put the vacuum cleaner on the wall
mount and plug the charger into the
charging port.
Fig. D-2
• Battery Status Indicator
Fig. D-3
Charging
Fully charged
Charging
Discharging
Battery Level ≥ 10%
Battery Level < 10%
Solid white
Blinking white
off
Note:
1. The vacuum cannot be used while
charging.
2. Fully charge the vacuum before using
it for the first time. This will take about
4 hours.
3. Vacuuming at Turbo mode for a
prolonged period will cause the battery
to heat up, which increases charging
time. Allow the vacuum to cool down for
30 minutes before charging it.
Working Method
Press and hold the power button to start
the appliance, and release the button to
stop immediately.
Fig. D-4
Switching Suction Level
Press briefly to switch between eco, med
and turbo mode.
Fig. D-5
Using Different Accessories
• Multi-Surface Brush
- When using on baby play mats, carpets
or for vacuuming coffee beans, pop corn
and other pellets, turn on the switch on
the brush.
- When vacuuming on tiles, wooden floors
or other hard surfaces, turn off the switch.
Fig. D-6
Note:
1. The multi-surface brush can be
attached directly to the vacuum.
2. When the appliance starts, the
lights in front of the brush roller
will automatically turn on, which is
convenient for use.
• Combination Tool
Suitable for vacuuming cracks, corners
of doors and windows, stairs, and other
hard-to-reach places.
Fig. D-7
• Motorized Mini-Brush
For vacuuming dirt, pet hair, and other
stubborn debris from sofas, bedding,
and other fabric surfaces.
Note: It is not recommended to vacuum
on fragile surfaces, such as silk.
Fig. D-8
Note:
1. If any rotating part becomes stuck, the
vacuum may shut off automatically.
Remove any trapped foreign objects,
then resume use.
2. When the battery becomes overheated,
the vacuum will automatically shut
off. Wait until the battery temperature
returns to normal, then resume use.
Care &
Maintenance
Tips:
1. Always use genuine parts to keep your
warranty from being void.
2. If the filter or nozzle becomes clogged,
the vacuum will stop working shortly
after being turned on. Clean it to restore
functionality.
3. If the vacuum is not used for an
extended period, fully charge it,
unplug its charger, remove the battery,
and store it in a cool, low-humidity
environment away from direct sunlight.
To avoid over-discharging the battery,
recharge the battery at least once every
three months.
Cleaning the Vacuum
Wipe the vacuum with a soft dry cloth.
Cleaning the Dust Cup,
Pre-Filter, and Cyclone
Assembly
Before cleaning the dust cup, disconnect
the charger and keep the vacuum's power
button in the off position.
• Press the dust cup release button and
remove it from the vacuum.
Fig. E-1
• Remove the pre-filter first, and then
rotate the cyclone system to lift it out.
Fig. E-2
• Empty the dust cup.
Fig. E-3
• Rinse the cyclone assembly, pre-filter,
and dust cup until they are clean. After
washing, air dry for at least 24 hours.
Fig. E-4
Note:
1. It is recommended to clean the dust
cup after use.
2. It is recommended to clean the
cyclone system and pre-filter at least
once every 3 to 4 months.
EN
13
