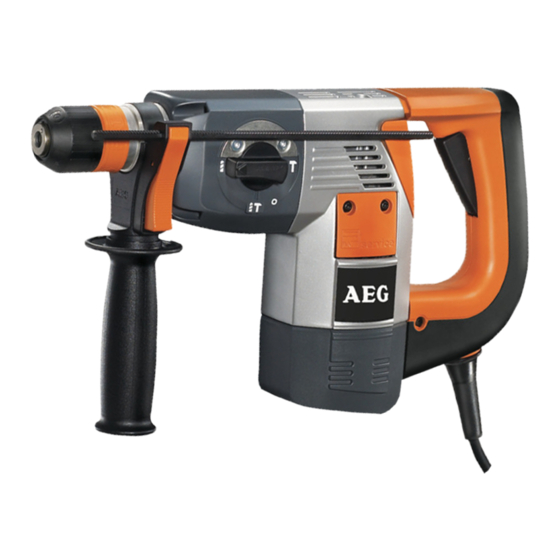
Atlas Copco PN 3500 Instruções de reparação - Página 16
Procurar online ou descarregar pdf Instruções de reparação para Perfurar Atlas Copco PN 3500. Atlas Copco PN 3500 18 páginas.

1
Only applicable
Insert the O-rings (2) and (7) into the pres-
for PN 3500 X:
sure sleeves (3) and (6). Fit the O-ring (8)
Assembling the
to the pressure sleeve (6).
spindle (Mount-
2
Press the pressure sleeve (3) into the
ing the inner
spindle (1).
parts)
3
Push the brake ring (4) and the pressure
sleeve (6) over the plunger and insert
them together into the spindle (1).
4
Insert the washer (9) into the spindle and
mount it on top of the O-ring (8).
5
Press the locking ring (A) into the spindle
with aid of a special tool until the locking
ring engages.
1
Assembling the
Mount the disk springs (1) with the bulg-
spindle
ings head-on (see illustration).
(Mounting the
2
Mounting the clutch:
outer parts)
Mount the ratchet (2) with indentations
against the toothing of the spindle
wheel (3).
3
Fit the locking ring (4) and press it against
the disk springs with aid of a press.
4
Fit the locking slide (5) and the retaining
disk (6). Take care of the right position!
5
Mounting the rear thrust bearing (7):
- washer
- thrust bearing washer
- two compensating washers and
- profile ring with damper O-ring.
6
Secure the rear thrust bearing (7) with a
special locking ring (8).
1
Mounting the
Fit the spindle (2) to the motor housing (4)
spindle
and fasten it with two additionally secured
screws (1) (6 Nm).
2
Push the ring gear (6) over the back gear
shaft (5) and let it engage in the locking
slide (3).
3
Push the planetary gear (7) over the
back gear shaft (5) and fit it into the ring
gear (6).
4
Push the straight pin (8) through the lock-
ing slide (3) and insert it into the motor
housing (4).
Carry out a visual check!
Repair Instructions No.179.11/97
PN 3500 / PN 3500 X
1
2
1
1
2
8
5
6
3
4
7 8
5
4
2 3
4
5 6
7
3
4
7
6
5
PAGE
15
9
A
11
8
12
13
