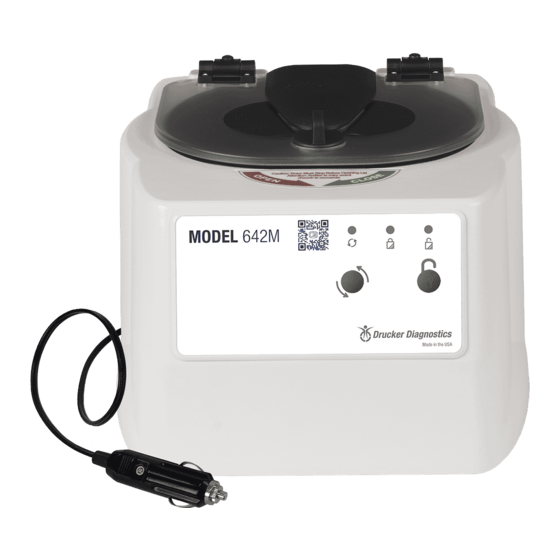
Drucker Diagnostics 642M Manual de serviço - Página 5
Procurar online ou descarregar pdf Manual de serviço para Equipamento de laboratório Drucker Diagnostics 642M. Drucker Diagnostics 642M 10 páginas.
Também para Drucker Diagnostics 642M: Manual do operador (20 páginas)

6. SERVICE INSTRUCTIONS
6.1. Cleaning
•
The cabinet, rotor and accessories can be cleaned using soap and water, isopropyl
alcohol, or a 10% (5500 PPM) bleach solution
•
Apply cleaning solutions with a towel or cloth. Do not submerge the centrifuge in
water or other cleaning solutions as this will cause damage and void the warranty.
•
Under no circumstances should any of the following be used: TBQ Germicidal
Products, Fully/Partially Halogenated Hydrocarbons, Ketones or Esters.
•
Use of any chemicals not prescribed by the manufacturer may cause damage to the
rotor and tube carriers and shall not be used.
6.2. Removing the Rotor
•
Use a 1/2" nut driver to loosen the center rotor screw (turn counter-clockwise).
•
Lift the rotor straight up and out of the rotor chamber.
•
To install the rotor, reverse steps A and B above.
•
Take care to align the hub spines with the rotor hub.
•
Tighten the rotor nut by hand with a ½" nut driver until snug. A good rule of thumb
is one full thread showing above the nut is a good indicator of proper installation.
6.3. Maintaining the Rotor
•
Keep the rotor clean, any corrosive materials must not be allowed contact with the
rotor and should be cleaned immediately.
•
The rotor should be checked periodically for signs of wear.
•
Remove the rotor from service if any of the following are found: cracks, deep
scratches, corrosion or discoloring.
6.4. Rotor Nut
•
If the rotor nut needs to be tightened, use a ½" nut driver and tighten it by hand
until snug.
•
Rule of thumb: One full thread showing above the nut is a good indicator of proper
installation.
6.5. Speed Calibration
•
Check the centrifuge speed periodically, every two years is recommended.
•
Important: When verifying rotor speed, make certain that all carriers are installed
in the rotor.
•
No calibration adjustment of speed can be made, only a verification of rotor speed.
6.6. Removing the Cabinet (Upper Housing)
•
There are nine screws that fasten the centrifuge cabinet to the base.
•
Begin by unplugging the centrifuge and waiting 10 minutes for internal voltages to
dissipate.
•
Use a #2 Phillips screwdriver to remove the cabinet screws (six on the bottom,
three in the rear)
DRUCKER DIAGNOSTICS
642M SERVICE MANUAL
SM023
REV C
5
