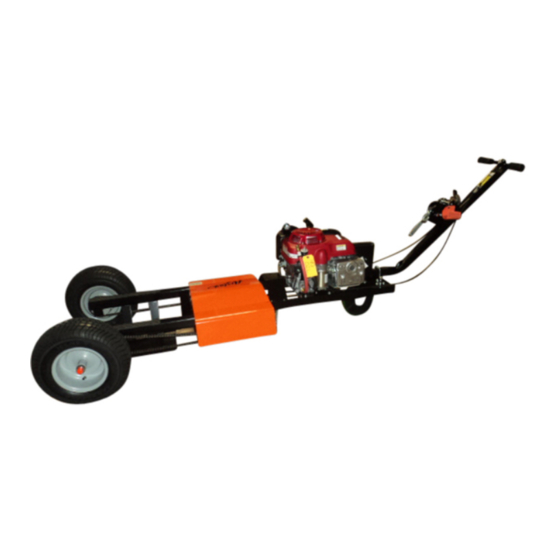
AIRTUG 10-S Instruções de montagem e funcionamento - Página 4
Procurar online ou descarregar pdf Instruções de montagem e funcionamento para Equipamento agrícola AIRTUG 10-S. AIRTUG 10-S 4 páginas.

Airtug® /
Step 3: Attach the transmission cable end to the left hand
grip with the "ball" on it. Then open the nuts located
several inches from the hand grip on the cable and slip
the cable between the bracket on the left side of the
handle and then secure the nuts firmly using an 11/16"
wrench.
Note: Using the zip ties provided, secure both cables to the
handle towards the bottom of the handle loosely.
Winch Operation
1. Ensure the strap is always over the top of the winch wheel. If you notice it on the bottom - pull the
strap all the way out and wind it back in so the strap is positioned over the top of the winch wheel.
2. When loading an aircraft, press the lock lever towards the handle and frame to the down position
and pull the strap out towards the front of the tug. You should hear the winch clicking throughout
this action.
3. Connect the strut strap around the nose gear or the "J" hook (if purchased as an option) - connect
to the hook at the end of the strap. Position the winch lever to the straight up position (locked) and
load the aircraft onto the tug by cranking the winch handle clockwise. You are now ready to move
the aircraft.
NOTE: Particularly with the 10-H model, always verify the winch strap tension prior to moving the aircraft.
10-S & 10-H Assembly & Operating Instructions / 7-17-17
AIRTUG®, LLC,
1350 CHESTER INDUSTRIAL PKWY,
AVON, OH 44011
1-216-941-9781
WWW.AIRTUG.COM
/ 216-941-9781 / www.airtug.com
4
