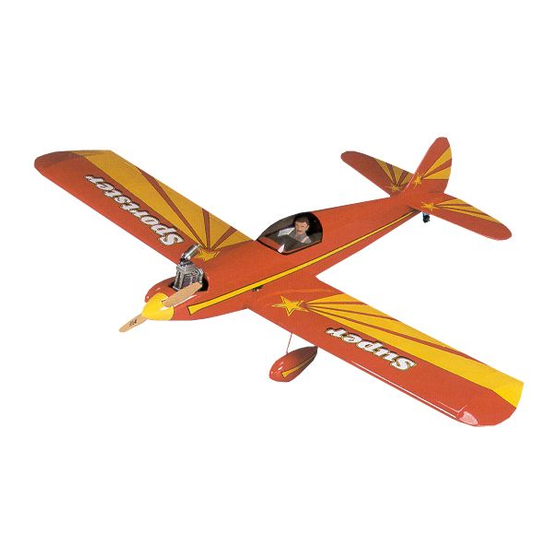
GREAT PLANES Super Sportster 40 Manual de instruções - Página 14
Procurar online ou descarregar pdf Manual de instruções para Brinquedo GREAT PLANES Super Sportster 40. GREAT PLANES Super Sportster 40 20 páginas.

tail gear assembly to the plate using two #2 x 1/2" sheet
metal screws.
❏
3. Slide the tail gear actuator onto the tail gear wire. Mark
the location of the actuator on the rudder and remove the
covering inside those marks. Use 6-minute epoxy to attach
the actuator to the rudder.
Radio Installation
❏
1. Mount the rudder, elevator and throttle servos in the fuselage.
Use the following sequence for mounting the servos into the
servo tray:
❏
A. Install rubber grommets and brass eyelets in the servos
using the provided sketch.
❏
B. Test fit the servos in the tray. Enlarge the openings if
needed to create a 1/32" [.8mm] gap around the servo.
❏
C. Mark servo mounting hole locations on the tray, then
drill 1/16" [1.5mm] pilot holes through each mark.
❏
D. Mount the servos with the screws provided with your
radio system.
❏
2. Install the rudder nylon control horn in line with the pushrod
exit. Hold the horn in position and mark the location of the
mounting holes. Drill 3/32" [2.5mm] mounting holes through
the marks. Wick two to three drops of thin CA into the holes
to harden the underlying balsa, and then re-drill the holes.
Attach the horn using two 2-56 x 5/8" machine screws and
a nylon nut plate. Do not overtighten the screws,
crushing the underlying balsa.
❏
3. Install the rudder pushrod. Place a clevis retainer onto a
clevis. Thread the clevis 14-turns onto the pushrod. Attach
the clevis to the outside hole on the control horn. Slightly
bend the pushrod as necessary to allow free movement.
❏
4. Center the rudder and rudder servo and mark the pushrod
where it crosses the servo arm. Enlarge the servo horn hole
with a 5/64" [2mm] drill bit. (The Hobbico Quick Drill set
(HCAR0699) works well for this purpose.)
14
