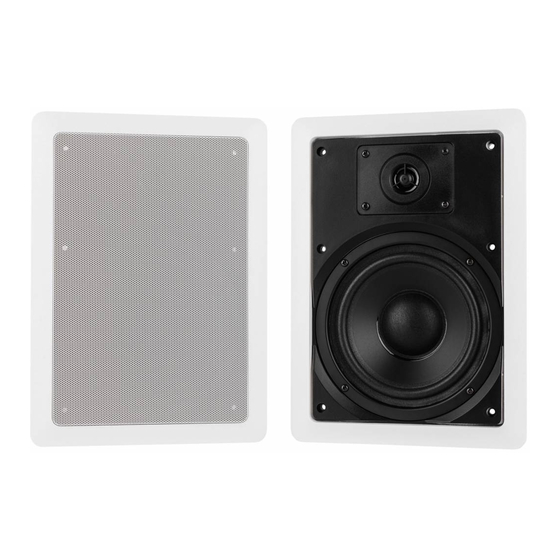
DaytonAudio CS620W Manual do utilizador - Página 3
Procurar online ou descarregar pdf Manual do utilizador para Altifalantes DaytonAudio CS620W. DaytonAudio CS620W 4 páginas. Contractor series

If the walls are made of drywall, simply cut the marked area with your utility knife. If your home has
plaster walls, then you will need to drill pilot holes at the four corners of the template outline, and cut
the speaker opening using a keyhole saw.
Check the speaker opening by placing one of the speakers into the hole. The speaker should fit
loosely into the hole.
Repeat these steps for the other speaker.
5) Speaker Cable
Don't compromise sound quality by using thin, inexpensive speaker wire, we recommend using a
high quality oxygen free copper speaker cable. For runs less than 50 feet we recommend 16 gauge
cable, and for longer runs we recommend 14 gauge or larger cable. Most municipalities require the
use of CL2 rated speaker cable for installation in walls and ceilings. Leave enough speaker cable so
you can stand comfortably on the floor or ladder while connecting the speaker cable to the speakers.
Speaker Connection
6)
Remove about 8" of the cable jacket to expose the inner conductors. Strip 1/4" of insulation from each
conductor and connect to the speaker terminals. When connecting the wires to the speakers, be sure
to observe proper polarity. Most CL2 rated speaker cable will have red and black conductors so you will
connect the red wire to the red speaker terminal and the black wire to the black speaker terminal.
7) Final Installation
To install the speakers into the wall, first put the bottom of the mounting bracket into the cutout
so that the bracket is behind the wall. Push the top of the mounting bracket in the hole so that the
upper part of the bracket is inside the wall. Next, position the mounting bracket so that it sits in the
center of the cutout. Before tightening the screws, use a level to align the mounting bracket. Tight-
en the screws evenly in a clockwise pattern until the mounting bracket is secure. Install the speaker
and baffle into the mounting bracket. Replace the grills and your installation is complete.
8) Painting Speakers
If the speaker frame is to be painted, either before or after installation, use the "Paint Masking
Template" to cover the woofer/tweeter assembly to prevent damage to them. Do not try to paint the
frame and grill assembly together. The grill should always be painted separately. Do not put such a
heavy coat of paint on the grill that the perforations are blocked.
9) Troubleshooting
Should your speakers not work properly, check the following:
No sound from speakers:
• Most stereo receivers have an A/B speaker selector switch. Make certain that this switch
is in the proper position.
• Mute feature is activated.
One speaker is playing while the other is not:
• Check the balance control on the receiver. Make sure it is centered.
• Loose connection at either the receiver or the speaker. Double check connections.
• Bad speaker cable. Replace suspect speaker wire.
Receiver cuts on and off:
• This could be caused by a short circuit between the positive and negative leads. Check
the connections at the back of the receiver, and then at the speaker. Make sure that no
strands of wire from one connector are touching the other connector.
