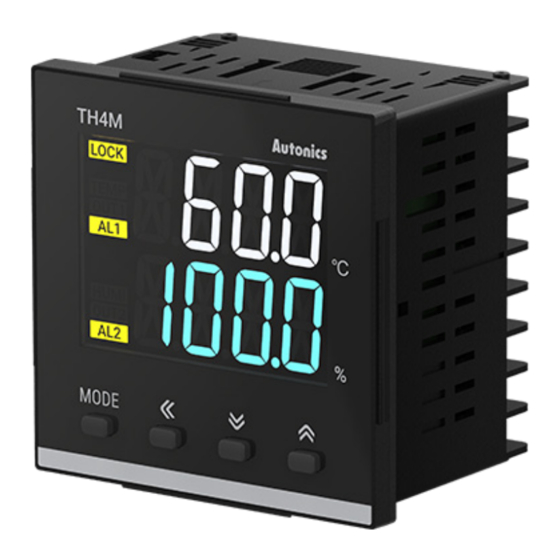
Autonics TH4M Series Manual do produto - Página 3
Procurar online ou descarregar pdf Manual do produto para Controlador de temperatura Autonics TH4M Series. Autonics TH4M Series 4 páginas. Lcd temperature/humidity controllers

Installation Method
Flathead screwdriver
Insert the unit into a panel, fasten the
bracket by pushing with tools with a
flathead screwdriver.
Connections
1
OUT1(Temp.):
19
Relay
250VAC 3A 1a
2
20
30VDC 3A 1a
RESISTIVE LOAD
3
21
OUT2(Humi.):
Relay
250VAC 3A 1a
4
22
30VDC 3A 1a
RESISTIVE LOAD
5
23
6
24
7
25
8
26
9
27
SOURCE
100-240VAC 50/60Hz
Crimp Terminal Specifications
• Unit: mm, Use the crimp terminal of follow shape.
≥3.0
≤5.8
Fork crimp terminal
Initial Display When Power is ON
When power is supplied, after all display will flash for 1 sec, model name is displayed
sequentially. After input sensor type will flash twice, enter into RUN mode.
Display
1. All
2. Model
Temperature >>>>
TH4M
Humidity
>>>>
"24R
■ Temperature/Humidity sensor
• Mounts sensor with M2 bolt and tighten
screws by torque from 0.5 to 0.9 N.m.
• Do not impact on the unit with hard
objects and do not bend the cable part
too much. It may cause damage.
AL1 OUT:
10
Relay
250VAC 3A 1a
11
RESISTIVE LOAD
AL2 OUT:
Relay
12
250VAC 3A 1a
RESISTIVE LOAD
13
14
15
White (I2C comm.): Clock
16
Blue (I2C comm.): Data
17
Brown: 3.3 VDC
18
Black: GND
≥3.0
≤5.8
Round crimp terminal
3. RUN mode
5%0
4@8
Mode Setting
[MODE]
RUN
[MODE] 2 sec
01) When entering SV setting mode, temperature SV setting mode appears. After that, when saving or not saving
SV, it enters the sequence of humidity SV setting and RUN mode. In temperature SV setting mode, TEMP
indicator lights up, and in humidity SV setting mode, HUMI indicator lights up.
Parameter Setting
• [MODE] key: Move to next item after saving / Return to RUN mode after saving (≥ 2
sec)
[◀] key: Move digits / Return to RUN mode without saving (≥ 2 sec)
[▲], [▼] key: Select parameter group / Change setting value
• TEMP indicator is ON in temperature related parameter, and HUMI indicator is ON in
humidity related parameter.
• The control is operated during parameter setting.
■ Temperature parameter setting group [TEMP]
Parameter
T-1 Control output mode
T-2 Hysteresis
T-3 Delay time
T-4 Input correction
Temperature/
T-5 Sensor error, MV
humidity
sensor
T-6 Temperature SV low limit
T-7 Temperature SV high limit
■ Humidity parameter setting group [HUMI]
Parameter
H-1 Control output mode
H-2 Hysteresis
H-3 Delay time
H-4 Input correction
H-5 Sensor error, MV
H-6 Humidity SV low limit
H-7 Humidity SV high limit
■ Additional parameter setting group [ADD]
Parameter
A-1 Input digital filter
Temperature alarm
A-2
operation
A-3 Temperature alarm value
A-4 Humidity alarm operation
A-5 Humidity alarm value
A-6 Lock
A-7 Parameter reset
01) When entering the parameter group, 'LOCK' indicator is ON.
Move digit: [◀] key
Change value: [▲], [▼] key
Save: [MODE] key
→ SV setting
01)
Without save: [◀] key over 2 sec
or no key input
over 30 sec
Parameter
Save: [MODE] key over 2 sec
→
group
Without save: [◀] key over 2 sec
Display Default Setting range
HEAT HEAT: Heating, COOL: Cooling
O-FT
!0 0.1 to 19.9 ℃
HYS
0 0 to 600 sec
DLyT
)0 -10.0 to 10.0 ℃
IN-B
OFF OFF, ON
ErMV
-2)0 -20.0 to [H-SV] - 0.1 ℃
L-SV
6)0 [L-SV] + 0.1 to 60.0 ℃
H-SV
Display Default Setting range
HEAT HEAT: Heating, COOL: Cooling
O-FT
!0 0.1 to 19.9 %RH
HYS
0 0 to 600 sec
DLyT
)0 -10.0 to 10.0 %
IN-B
OFF OFF, ON
ErMV
1)0 10.0 to [H-SV] - 0.1 %RH
L-SV
10)0 [L-SV] + 0.1 to 100.0 %RH
H-SV
Display Default Setting range
!0 0.1 to 100.0
MAvF
AM0: Off
AM1: Deviation high limit alarm
AM2: Deviation low limit alarm
ALmT
ALm0
AM3: Deviation high, low limit alarm
15%0 -155.0 to 155.0 ℃
AlT
AM0: Off
AM1: Deviation high limit alarm
ALmH
ALm0
AM2: Deviation low limit alarm
9)0 -90.0 to 90.0 %RH
AlH
OFF
ON: Lock temperature/humidity parameter
LOC
OFF
setting group
01)
NO: No reset
YES: Reset all parameters
INIT
NO
→
RUN
→
