HIKVISION DS-2CE12UF3T-E Manual do utilizador - Página 8
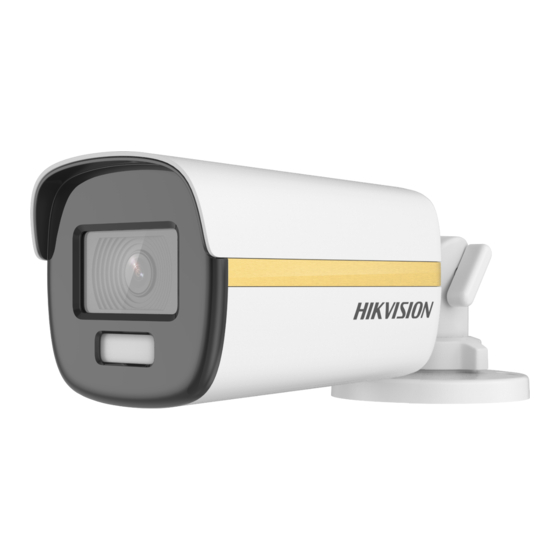
Procurar online ou descarregar pdf Manual do utilizador para DVR HIKVISION DS-2CE12UF3T-E. HIKVISION DS-2CE12UF3T-E 18 páginas. 4k colorvu poc camera
Também para HIKVISION DS-2CE12UF3T-E: Manual de início rápido (17 páginas)
disassemble the camera for repair or maintenance by
yourself.
2.1
Installation of Type I Camera
2.1.1 Ceiling/Wall Mounting Without Junction Box
Before you start:
Ceiling mounting and wall mounting are similar.
Following steps take ceiling mounting as an example.
Steps:
1. Paste the drill template (supplied) to the place
where you want to install the camera.
2. (Optional) For cement ceiling, drill the screw holes
with a 5.5 mm drill and insert the supplied wall
plugs.
3. (Optional) Drill the cable hole, when the cables are
routed through the ceiling.
4. Align the screw holes in the bracket to the ceiling,
and secure the camera with three PA4 × 25 screws
(supplied).
Figure 2-2 Secure Camera to Ceiling
5. Connect the power cord and video cable.
6. Power on the camera to adjust the view angle
according to the figure below.
Rotation Position
[0° to 360°]
Loosen the trim ring to adjust the pan position
1).
[0° to 360°].
Loosen the thumbscrew to adjust the tilt
2).
position [0° to 180°].
Loosen the screw to adjust the rotation position
3).
[0° to 360°].
7. Tighten the trim ring and screws to finish the
installation.
2.1.2 Ceiling/Wall Mounting with Junction Box
Before you start:
Cable
Hole
Figure 2-1 Drill Template
Figure 2-3 3-Axis Adjustment
Screw Ho le
Screw Ho le
Screw Ho le
template
2
Pan Position
[0° to 360°]
Trim Ring
Tilt Position
[0° to 180°]
Thumbscrew
Screw