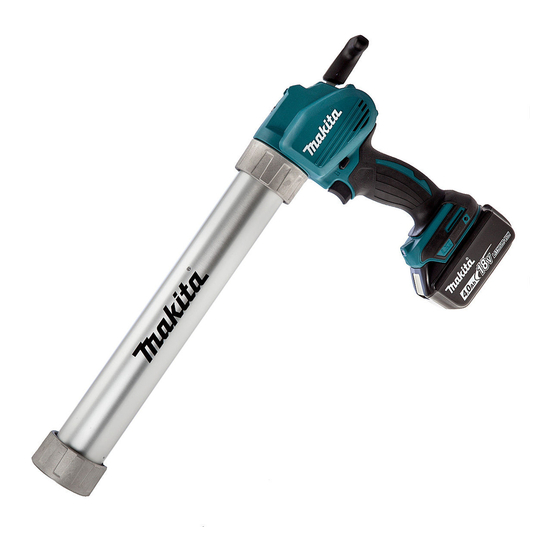
Makita BCG140 Manual de instruções - Página 6
Procurar online ou descarregar pdf Manual de instruções para Ferramenta eléctrica Makita BCG140. Makita BCG140 12 páginas. Cordless caulking gun
Também para Makita BCG140: Informações técnicas (11 páginas)

Overloaded:
•
The tool is operated in a manner that causes
it to draw an abnormally high current.
In this situation, release the switch trigger on
the tool and stop the application that caused
the tool to become overloaded. Then pull the
switch trigger again to restart.
If the tool does not start, the battery is
overheated. In this situation, let the battery
cool before pulling the switch trigger again.
Low battery voltage:
•
The remaining battery capacity is too low
and the tool will not operate. In this situation,
remove and recharge the battery.
NOTE:
The overheat protection works only with a battery
cartridge with a star mark.
1
012128
Speed adjusting dial
013560
The tool speed can be adjusted by turning the dial.
Higher speed is obtained when the dial is turned in the
direction of number 5, lower speed is obtained when it is
turned in the direction of number 1.
NOTE:
The speed adjusting dial can be turned only as far
•
as 5 and back to 1. Do not force it past 5 or 1, or
the speed adjusting function may no longer work.
Depending on the type and condition of caulking
•
material, the rod may get clogged when operating
with low speed. In that case set the speed
adjusting dial higher.
1. Star marking
1. Speed adjusting
dial
1
Overload warning lamp
013557
The warning lamp flickers in red when the tool is
overloaded. If the load reaches some point, the lamp
keeps lighting in red and the tool stops. To restart the
tool, release the trigger and pull the trigger again.
NOTE:
Check what causes the overload when the lamp flickers
or lights up. Change the parameter of the speed
adjusting dial lower, or increase the diameter of the
nozzle.
Switch action
CAUTION:
Before inserting the battery cartridge into the tool,
•
always check to see that the switch trigger
actuates properly and returns to the "OFF"
position when released.
When not operating the tool, push the trigger-lock
•
button from A side to lock the switch trigger in the
OFF position.
B
1
2
013559
To prevent the switch trigger from accidentally pulled,
the trigger-lock button is provided.
To start the tool, push the trigger-lock button from B side
and pull the switch trigger. Tool speed is increased by
increasing pressure on the switch trigger. Release the
switch trigger to stop.
After use, press in the trigger-lock button from A side.
6
1. Warning lamp
1
1. Lock lever
2. Switch trigger
A
