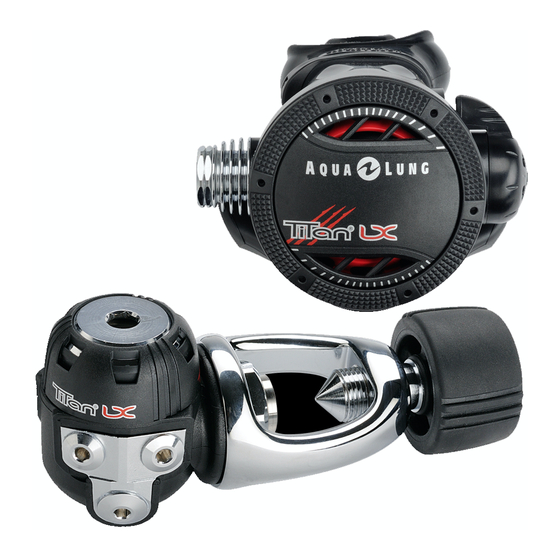
Aqua Lung Titan Manual de manutenção - Página 10
Procurar online ou descarregar pdf Manual de manutenção para Controlador Aqua Lung Titan. Aqua Lung Titan 20 páginas. Second stage
Também para Aqua Lung Titan: Boletim Técnico (4 páginas), Manual de serviço (19 páginas)

10
Lever Height Adjustment
17.
Pressurize the regulator
18.
Slide the notch of the ad-
justing tool 125727 across
the top of the box bottom
(4) The top of the lever
(18) should touch the tool
without causing a leak. At
this point, the lever should
be 2.5 mm above the rim
of the box bottom.
19.
If the notch in the tool
depresses the lever
causing a leak, in other
words, if the lever is
too high, unscrew the
locknut (16) with the 1⁄4"
nut driver to lower the
lever (18) to the correct
height.
If the lever does not touch the tool, in other words, the lever
is too low, screw the locknut back in until the lever reaches
the correct height.
20.
Once the lever height has been set, turn off the air supply
and purge the regulator. Remove the hose (25).
21.
Install the o-ring on to the
venturi switch (9).
22.
Install the venturi assem-
bly into the right side of
the box bottom (4). Lock
it in place by inserting
the retaining clip (7). You
should hear it "click" as it
locks into place.
23.
Install the exhaust valve cover (11) by positioning the two
square holes in the cover over the mating two lugs on the
box bottom (4). Swing it up into position and engage the
latch. You should hear it "click" as it locks into place.
24.
Fit the washer (2) on to the front of the diaphragm (3) and
place the assembly into the box bottom (4).
25. Fit the front cover (1) on to the box bottom (4) starting with
hose side. Visually inspect the cover to ensure that it is
seating evenly all the way around.
