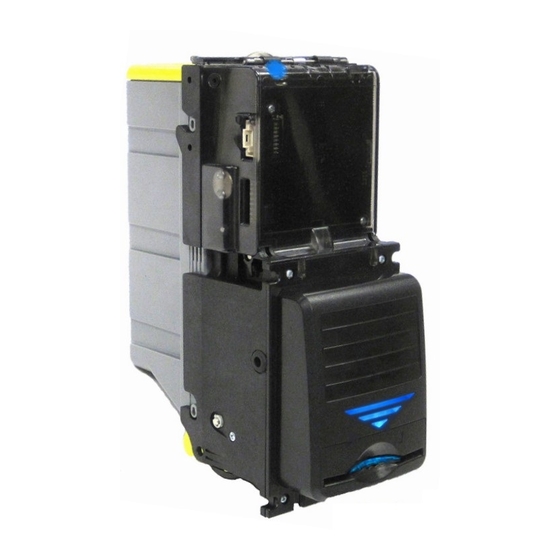
CPI CXB2 Manual de instalação - Página 5
Procurar online ou descarregar pdf Manual de instalação para Validador de notas de banco CPI CXB2. CPI CXB2 13 páginas.

INSTALLATION INSTRUCTIONS
5.
Apply power to the vending machine.
• Observe the LED status indicator on the top of the CXB2 is ON and BLUE. This indicates
that the unit is ready to accept notes.
• If the light is OFF, check to ensure that power has been applied.
• If the light is RED or BLUE, refer to the label located on the back of the magazine or the
chart on page 8 for a description of diagnostic codes.
6.
Check operation
• Insert a note and observe that it is accepted and stacked.
• Repeat for other enabled notes.
7.
Remove the notes and check the status.
• Instructions for cassette removal are on the label at the back of the magazine.
• Once the magazine is installed, verify that the LED status indicator remains BLUE and
steady ON.
PINOUT INFORMATION FOR 16 PIN CONNECTOR
Pin
1
2
3
4
MDB Master Receive
5
MDB Master Transmit
6
7
Auxiliary Channel 2 – RS-232 TXD
8
Auxiliary Channel 2 – RS-232 RXD
9
GND (Communication Ground)
10
+12V Output (for test purposes only)
11
+5V Input (to detect external connection)
12
Auxiliary Channel 1 – RS-232 TXD
13
Auxiliary Channel 1 – RS-232 RXD
14
GND (Communication Ground)
15
Select Line (Auxiliary Input)
16
GND (Communication Ground)
Part Number Description
©
CPI 2016
(CONTINUED)
Circuitry
34VDC(+)
34VDC(-)
N/C
MDB Common
P/N# 253052002
Mating connector:
Dual Row Crimp Connector Housing – Molex
#501646-1600 – 1 pcs.
Female Crimp Terminal - Molex #501647-1000 -16 pcs.
CXB2
Mexico
2
1
4
3
6
5
8
7
10
9
12
11
14
13
16
15
http://www.cranepi.com
5
