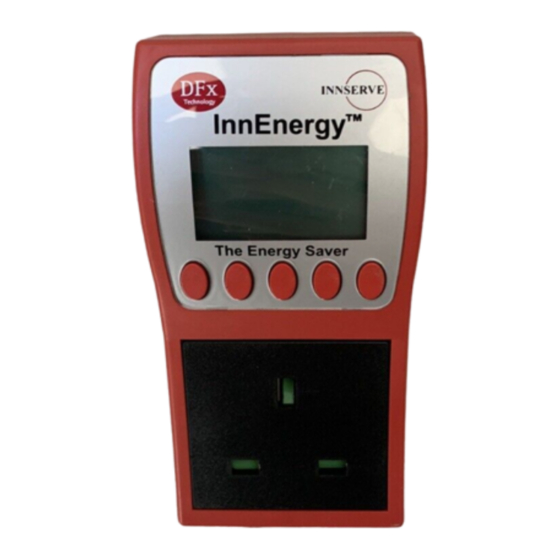
DFx Technology InnEnergy Manual de instruções - Página 8
Procurar online ou descarregar pdf Manual de instruções para Interruptor DFx Technology InnEnergy. DFx Technology InnEnergy 16 páginas.

InnEnergy® device installed (note: the 'After' value will only be displayed when
the InnEnergy® device is in 'Normal Operation' mode). By pressing the 'PF' button
(button 4) the Power Factor (PF) is displayed. By pressing on the 'VA' button (but-
ton 5) the true power that is currently being measured by the InnEnergy® device is
displayed. When the true power is displayed, the 'VA' button changes into the 'W'
button (button 5). By pressing on the 'W' button (button 5), the number of Watts
that are being measured is displayed.
6.5 Voltage/Current Meter
This screen displays the voltage (V) and current (A) being measured by the InnEn-
ergy® device.
7. Engineer Mode
The 'Engineer Mode' is where all user definable parameters are set. To access
the 'Engineer Mode' press the MENU (button 2) button until the 'Engineer Mode'
screen is displayed. Next, press the OK button (button 4). This will display the
'Enter Code' screen (see 7.1).
7.1 Engineering Code
The engineering code prevents unauthorised
access to the settings of the InnEnergy® device.
The default code is 1966. To access the 'Engi-
neer Mode' this code must be entered, when
prompted to do so by the 'Engineering Code'
screen (see 7.). Press the <INC button (button
1) to increment the first digit of the code. To input
the next digit press the SET> button (button 5).
When all four digits have been set, press the SET> button (button 5) once more to
enter the 'Engineer Mode'. If the 'Engineering Code' is correct, access to the 'Engi-
neer Mode' will be granted, if the code is incorrect, the 'Engineer Mode' screen will
be re-displayed and the process of entering the code must be repeated.
7.2 Clock Set (Date/Time/Day)
In 'Engineer Mode' press the MENU (button 2)
until the 'Clock Set' screen is displayed (this
should be the first screen displayed in 'Engineer
Mode'). To set the date, press the OK button (but-
ton 4). The 'Date Set' screen will be displayed.
To increment the highlighted digit press the <INC
button (button 1), then press the SET> button
(button 5) to move to the next digit. Once the date
had been set press the SET> button (button 5)
once more to set the day. The 'Day Set' screen will be displayed. Press the <INC
button (button 1) to display the different days of the week. Once the correct day
has been selected, press the SET> button (button 5) to proceed to the 'Day Light'
set screen. By pressing the <INC button (button 1), the 'Daylight Saving' func-
8
