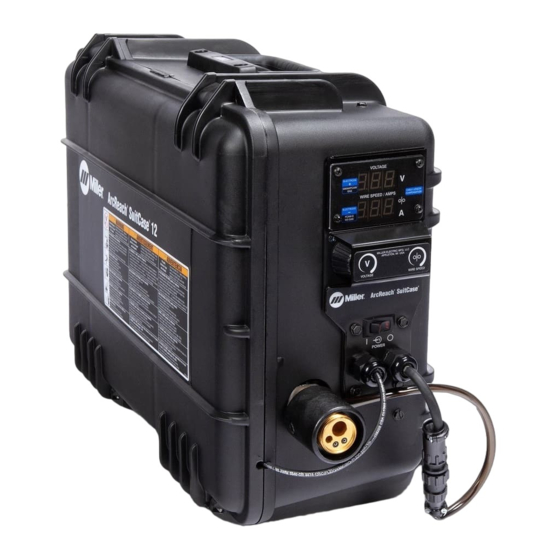
Miller ArcReach SuitCase Non-CE Manual do Proprietário - Página 40
Procurar online ou descarregar pdf Manual do Proprietário para Sistema de soldadura Miller ArcReach SuitCase Non-CE. Miller ArcReach SuitCase Non-CE 48 páginas.

allen_wrench
7-3.
Cleaning Debris From Shielding Gas Filter Fitting
pliers
needlenose
solderiron
stripcrimp
torque screwdriver
3/4 in.
socket wrench
torque wrench
7-4.
Troubleshooting
Trouble
Wire does not feed; open-circuit volt-
age available.
strapwrench
Wire feeds erratically.
qtip (swab)
vicegrip
toothbrush
Motor runs slowly.
Unit does not switch out of Soft Start.
Wire feeds when Jog switch is
pressed but not when gun trigger is
pressed.
OM-278792 Page 34
allen_set
�
Complete Parts List is available at www.MillerWelds.com
knife
1
heavy-duty workclamp
drill
Check power switch S1 and connections, replace if necessary.
Check supplementary protector CB1. Reset CB1.
Unit overheated. Allow unit to cool.
hammer
Check sensing lead connection.
airgun
Check gun trigger plug connection.
Check gun trigger. See gun Owner's Manual.
Check Resonant Coupler PC23 and connections, replace if necessary.
Check DIP switch settings on Meter Board PC22 (see section 5-13)
Have Factory Authorized Service Agent check Control board PC1.
Readjust hub tension (see section 5-11).
Readjust drive roll pressure (see section 5-11).
crimper
Clean or replace dirty or worn drive roll (see Section 5-6).
Remove weld spatter around nozzle opening.
Replace contact tip or liner (see gun Owner's Manual).
Change to correct size and type drive roll (see Section 5-6)
Check that DIP switches on Motor Control Board (PC 1) are set correctly (see section 5-13)
Have Factory Authorized Service Agent check control board PC1.
punch
When soft start is on, motor will run slow until weld current is sensed by HD1.
Readjust hub tension (see section 5-11).
Check if wire speed dual schedule switch is activated (if applicable, see Section 6-4)
Check that DIP switches on Motor Control Board (PC 1) are set correctly (see section 5-13)
Check and replace contact tip or liner if necessary (see gun Owner's Manual).
Have Factory Authorized Service Agent check Control board PC1.
Check transducer HD1 and connections, and replace if necessary.
Check gun trigger connection at wire feeder. Check gun trigger leads and trigger switch. See gun
Owner's Manual.
flathead
philips head
steelbrush
light-duty workclamp
handream
Remedy
awl
feelergauge
solvent
pinextractor
wrench
crescent wrench
Disconnect
Power
maintaining.
1 Shielding Gas Filter Fitting
nutdriver
Remove fitting from gas valve on back panel
chippinghammer
of feeder.
Blow compressed air through the threaded
male end of fitting to dislodge debris from in-
ternal mesh screen.
�
Replace fitting if blowing compressed
air through fitting does not clear
obstructions.
wirecutter
Reinstall fitting into gas valve.
Tighten fitting to 250 in. lbs (28 Nm).
greasegun
filterwrench
file
flashlight
ruler
eprompuller
pipewrench
before
frontcutter
paintbrush
OM-222 Page 1
