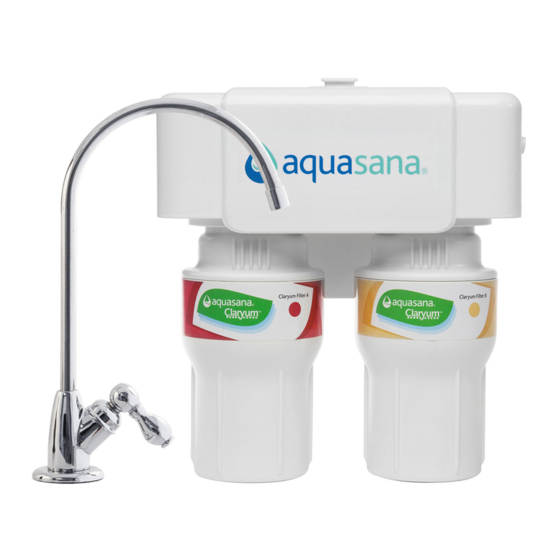
Aquasana AQ-5300 Instruções de instalação - Página 3
Procurar online ou descarregar pdf Instruções de instalação para Dispensador de água Aquasana AQ-5300. Aquasana AQ-5300 5 páginas. Under counter water filter
Também para Aquasana AQ-5300: Manual de instruções de instalação (8 páginas)

Easy to install
1. Unpack and unwrap contents. Turn off and
disconnect the cold water supply.
3. Attach white tube to the brass tee: Slide the compression nut
onto the white tubing (with threads of the nut facing the end of
the white tube). Next, slide the plastic sleeve onto the white tube.
Place brass insert into the opening of white tube. Push the tip of the
white tubing into the opening of the brass tee.While holding the
white tube in place inside the brass tee, tighten the compression
nut to compress the plastic sleeve and create a seal. NOTE: Use a
wrench to ensure complete seal. Avoid over tightening.
4. Unit installation: Select a space under your
sink for the filter unit that is at least 12 inches
from the bottom of your cabinet and allows
for easy access to your cold water supply and
for filter replacements. Use a pencil to mark
wall screw placements.
2. Brass Tee Installation: Attach threaded
ends of supplied brass tee to the cold water
supply line and shut-off valve; tighten using an
adjustable wrench.
5. Mount unit to the wall with the screws and
plastic anchors provided. Pull the protective
plastic strip from the battery compartment.
The red LED should flash and beep five (5)
times to indicate that the battery is installed
correctly.
6. Faucet Installation:
Install as shown.
Tighten nut to secure
faucet to sink.
8. Connect the supply lines: push the tubing
into the inlet side and outlet side of the
housing. The tee fitting tube goes to the inlet
and the faucet tube goes to the outlet.
7. Faucet Connection: connect the outlet hose to the
base of the faucet by sliding the chrome nut onto
the tube followed by the white collar. Place the white
insert into the end of the tube. Press the tube against
the faucet base and slide the nut and collar up to the
threads. Use wrench to ensure seal is sufficiently tight.
Note: Avoid over tightening.
9. Turn the cold water on. Check for leaks and
proper installation: place a towel under the
filter unit and check for leaks. Allow water to
run for 10 minutes to flush carbon fines.
Note: Never use oils to lubricate the O-rings;
O-rings come pre-lubricated.
Enjoy your filtered water!
