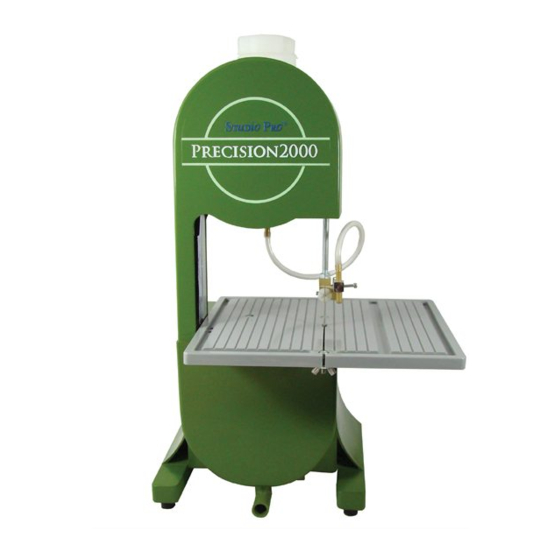
Diamond Tech Studio Pro Precision 2000 Manual de operação - Página 5
Procurar online ou descarregar pdf Manual de operação para Serra Diamond Tech Studio Pro Precision 2000. Diamond Tech Studio Pro Precision 2000 8 páginas.

Fig.10
1) Turn OFF power switch.
2) Remove upper and lower covers and water bottle to access tracking/locking knob located behind the upper wheel (Fig.13).
3) Loosen the knob closest to the saw, this is the locking mechanism (Fig.14). Loosening this knob will allow for free
movement of the wheel.
4) If the blade is riding too far forward on the top wheel, tilt it slightly forward by turning the top adjusting knob
(See Fig.14) to the right (clockwise). The wheel should then start to tilt slightly forward while the bottom of the
wheel will move slightly backwards, towards the saw body. Turn the blade wheels by hand to test alignment.
When satisfi ed with the position, turn locking knob to secure alignment in place. Return the water bottle and
wheel covers to their normal operating positions.
Fig.13
5) If the blade is riding too far backward against the back, turn the tracking knob to the left (counterclockwise)
so the upper wheel tilts slightly towards the saw body while the bottom of the wheel tilts away from the saw
body (Fig.15). Turn blade wheel by hand to test adjustment. When satisfi ed with the position, turn locking knob to
secure alignment in place. Replace the water bottle and wheel covers.
D. Upper Blade Guide Arm
The position of the upper guide assembly should be 1/4" from the top of the material being cut (Fig.15).
1) To adjust height of blade guide assembly, loosen tension knob on back of saw and raise or lower the arm
assembly (Fig. 16). Once in the desired position, tighten knob.
Fig.11
Fig.14
Fig.12
