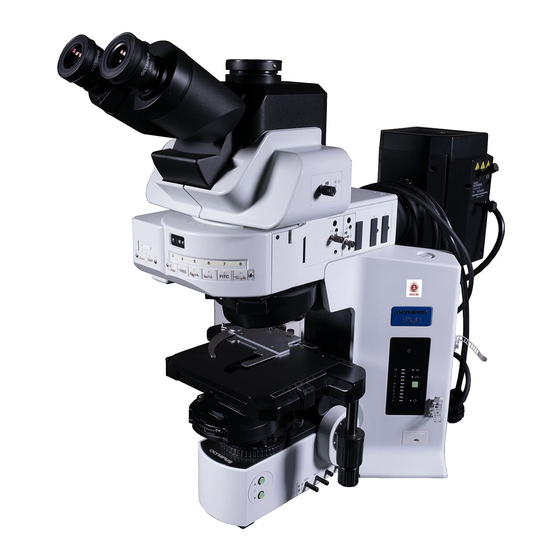
Olympus BX61 Manual de instruções - Página 34
Procurar online ou descarregar pdf Manual de instruções para Microscópio Olympus BX61. Olympus BX61 40 páginas. Motorized system microscopes

7-2 Detailed Assembly Procedures
# For use in focusing control, only either the Z-board or AF control board can be installed on the BX-UCB.
Installing different boards on it may result in malfunction. When using the AF control board instead of the Z-board,
set the on-board DIP switches on the AF control board to the same settings as the following settings that are
originally intended for the Z-board.
S1
Fig. 38
@
²
Fig. 39
30
S2
S3
³
Setup and Installation of the Z-Board
}The on-board DIP switches on the Z-board have been set up for the
BX61 or BX62 (all of switches S1, S2 and S3 are set to OFF).
Changing the Settings of On-Board DIP Switches (Fig. 38)
# Leave all other DIP switches than those mentioned below in the OFF
positions.
}Switch only the DIP switches mentioned below to the ON positions.
S2 No. 4
· This replaces the functions of the F/C switching and stage escape but-
tons on the left side of the BX61/BX62 with the stage DOWN and UP
buttons.
S3 No. 1
· This turns off the automatic initialization and sets the remote mode which
is the default.
S3 No. 4
· When the U-FWT filter wheel is not used, this changes the focus adjust-
ment stroke from 15 mm to 25 mm.
}When the U-LWUCD long-WD universal condenser is used, set this to
the OFF position.
Mounting the Z-Board (Fig. 39)
}Be sure to set the main switch on the BX-UCB control box @ to "
(OFF) before proceeding to mounting the Z-board.
1. Loosen the 6 clamping knobs on the 2 option slot covers on the rear of
the BX-UCB and remove the covers and knobs.
2. Insert the Z-board ² into the BX-UCB by aligning the orientation of the
connector inside the BX-UCB and that of the Z-board. Push in the board
along the board rails all the way so that the connector is plugged in
securely.
3. Clamp the Z-board ² using two of the clamping knobs removed above.
Also attach one of the removed covers ³ using the other four clamping
knobs removed above.
}Store the other, removed cover in a safe place.
"
