Cisco 9124 - mds multilayer fabric switch Manual de instalação do hardware - Página 16

Procurar online ou descarregar pdf Manual de instalação do hardware para Interruptor Cisco 9124 - mds multilayer fabric switch. Cisco 9124 - mds multilayer fabric switch 36 páginas. Mds 9000 series
Também para Cisco 9124 - mds multilayer fabric switch: Especificações (2 páginas), Ficha de dados (9 páginas), Especificações (3 páginas), Manual de configuração (49 páginas), Nota de lançamento (48 páginas), Nota de lançamento (44 páginas), Nota de lançamento (36 páginas), Nota de lançamento (22 páginas), Nota de lançamento (3 páginas), Nota de lançamento (40 páginas), Manual (16 páginas)
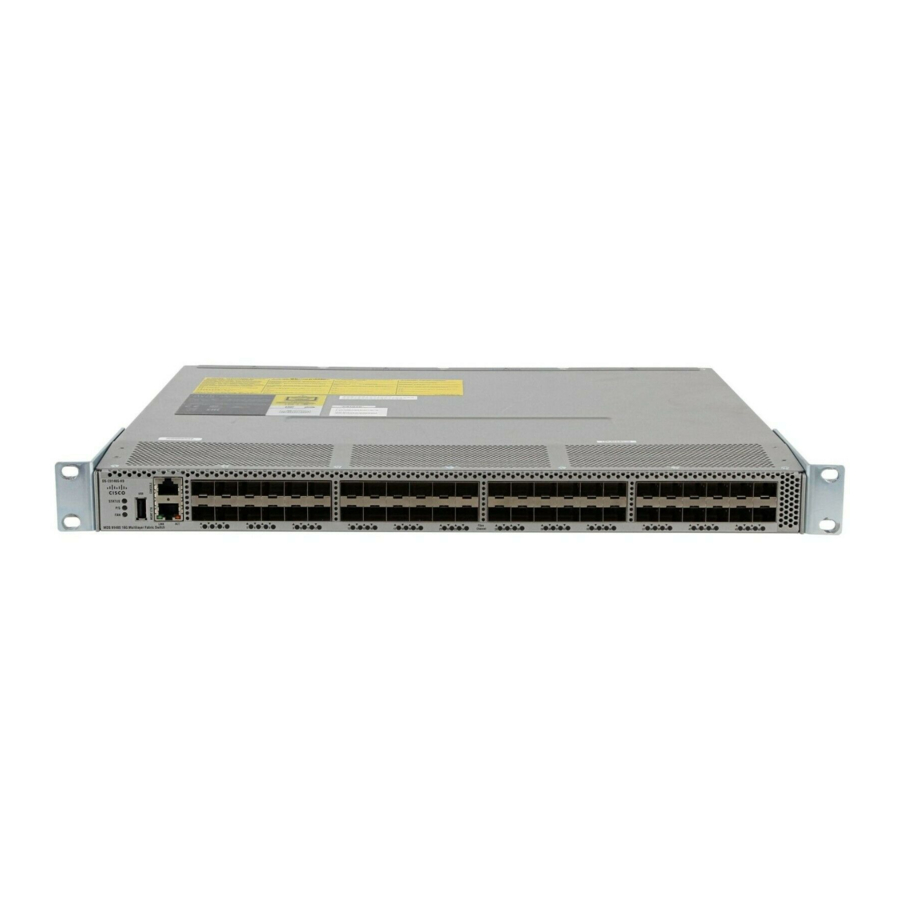
Cisco 9124 - mds multilayer fabric switch Manual de instalação do hardware
Installing the Switch in a Cabinet with Insufficient Front Clearance
S e n d d o c u m e n t a t i o n c o m m e n t s t o m d s f e e d b a c k - d o c @ c i s c o . c o m
Insert the switch into the rack:
Step 2
By using both hands, position the switch with the back of the switch between the rear rack-mounting
a.
rails as shown in
Note
Figure 2-11
Align the two C brackets on either side of the switch with the slider rails installed in the rack. Slide
b.
the C brackets onto the slider rails and then gently slide the switch all the way into the rack. If the
switch does not slide easily, try realigning the C brackets on the slider rails.
Stabilize the switch in the rack by attaching the front rack-mount brackets to the rear rack-mounting
Step 3
rails:
Insert two screws (12-24 or 10-32, depending on rack type) through the holes in one of the front
a.
rack-mount brackets and into the threaded holes in the back rack-mounting rail (see
For racks with square holes, first install the 12-24 cage nuts.
Note
Cisco MDS 9100 Series Hardware Installation Guide
2-16
Figure
2-11.
Figure 2-11
shows the front rack-mount brackets in a 180 degree position. Your front
rack-mount brackets may look different if you kept them in the normal position.
Sliding the Cisco MDS 9100 Series Switch (Rear-Facing) onto the Slider Rails
Rear cabinet
mounting
rails
Figure 2-12
shows the front rack-mount brackets in 180 degree position. Your front rack-mount
brackets may look different if you kept them in the normal position.
Chapter 2
Installing the Cisco MDS 9100 Series
Front cabinet
mounting
rails
Figure
2-12.)
OL-21514-01