Shimano Ultegra 6770 Series Manuais - Página 15
Procurar online ou descarregar pdf Manuais para Bicicleta Shimano Ultegra 6770 Series. Shimano Ultegra 6770 Series 24 páginas.

4.
Once the electric wires have been routed, secure junction (B) underneath the bottom bracket shell.
Tightening torque:
1.5 - 2 N·m {13 - 18 in. lbs.}
5.
Next, install the electric wire cover to the frame. In order to make sure that the
electric wire cover is securely installed, clean the frame with alcohol or some other
cleaning agent to remove any grease or other substances before installing the cover.
Place the electric wire cover over the electric wires, and then attach it to the frame.
Checking connections
After connecting the electric wires to all of the components, install the battery and check the
operation.
Operate the shifting switches and check that the front derailleur and rear derailleur both operate.
Note:
* If not installing the chain at this point, be sure to operate shifting switch (X) for the left lever once
or more to set the front derailleur to the larger chainring position when installing the chain. After
this, be sure to remove the battery.
Disconnection of the electric wires
Use the wide end of the TL-EW02 special tool to disconnect the electric
wires. If you pull too firmly on the connectors, problems with operation
may occur. Insert the special tool so that the flat side is facing toward
the derailleur, and then tilt it so as to pull out the connector of the
electric wire.
28
Junction (B) fixing bolt
(10.5mm or 15mm)
(3mm Allen key)
Shifting switch (X)
FD-6770
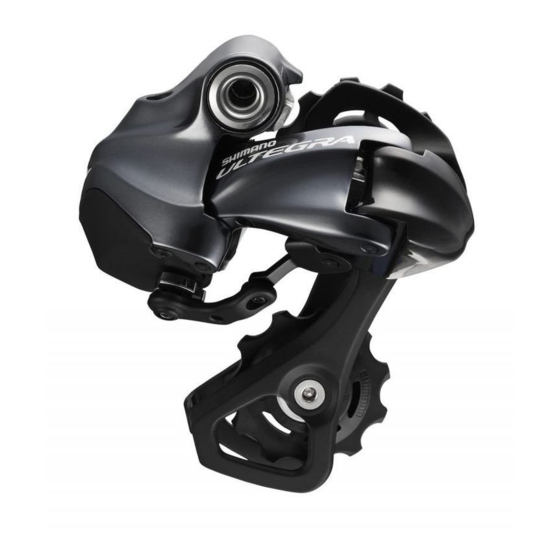
RD-6770
When disconnecting the electric wire from a lever, face the flat side toward the lever. When disconnecting the connector of
junction (A) or junction (B), insert the special tool so that the flat side is facing toward junction.
ST-6770
* Run any excess length of electric wire along the handlebar, and use cable ties or similar to secure the electric wire to the
handlebar.
$ Rear junction: Connection of junction (B)
Built-in type (SM-JC41)
1.
First pass the electric wires for junction (A), the battery mount,
the front derailleur and the rear derailleur through the holes in
the frame into the bottom bracket shell.
* The electric wires have a correct way of being inserted. Make
sure that you insert them from the direction shown in the
illustration.
Electric wire for front derailleur
Electric wire for rear derailleur
Electric wire for junction (A)
Electric wire for battery mount
SM-JC40
Wire holder
Bottom bracket shell
SM-JC41
29
