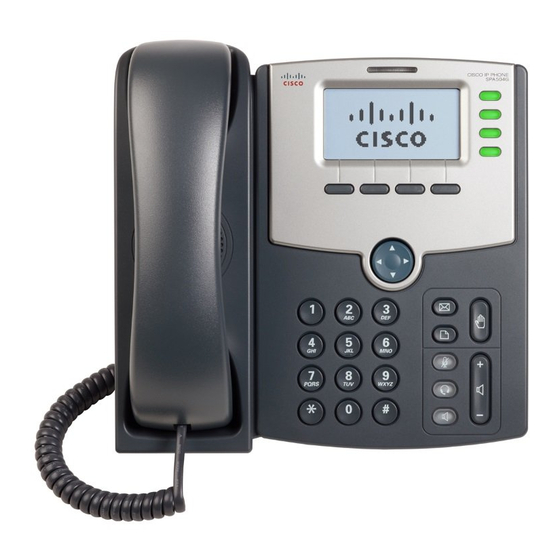
Cisco Small Business Pro SPA 504G Manual de configuração e do utilizador - Página 2
Procurar online ou descarregar pdf Manual de configuração e do utilizador para Telefone IP Cisco Small Business Pro SPA 504G. Cisco Small Business Pro SPA 504G 9 páginas. 4-line ip phone
Também para Cisco Small Business Pro SPA 504G: Manual de configuração e do utilizador (8 páginas), Manual do utilizador (18 páginas), Manual de início rápido (2 páginas), Manual de início rápido (2 páginas), Manual de configuração e do utilizador (19 páginas), Manual de início rápido (5 páginas), Manual de início rápido (7 páginas), Manual do utilizador (2 páginas), Manual do utilizador (8 páginas), Manual do utilizador (2 páginas), Manual de início rápido (14 páginas), Manual rápido do utilizador (2 páginas), Manual de início rápido (18 páginas), Manual de início rápido (7 páginas), Manual (7 páginas), Manual de configuração (12 páginas), Manual de configuração (12 páginas), Manual do utilizador (8 páginas), Manual de início rápido (21 páginas), Manual do utilizador (12 páginas), Manual de início rápido (2 páginas), Cartão de referência rápida (2 páginas), Manual (5 páginas), Manual de referência rápida (4 páginas), Manual rápido do utilizador (9 páginas), Instruções (2 páginas), Manual de referência rápida (2 páginas), Configuração (8 páginas)

- 1. Installing Your IP Phone
- 2. Using a Wireless Connection
- 3. Using the Call Features of the Cisco SPA504G
- 4. Placing a Call
- 5. Answering a Call
- 6. Ending a Call
- 7. Placing a Conference Call
- 8. Conference Call Tips
- 9. Blind Transferring
- 10. Warm Transferring
- 11. Call Forwarding
- 12. Do Not Disturb
- 13. Accessing Voice Mail
- 14. Recording Unavailable Voice Message
- 15. Paging
