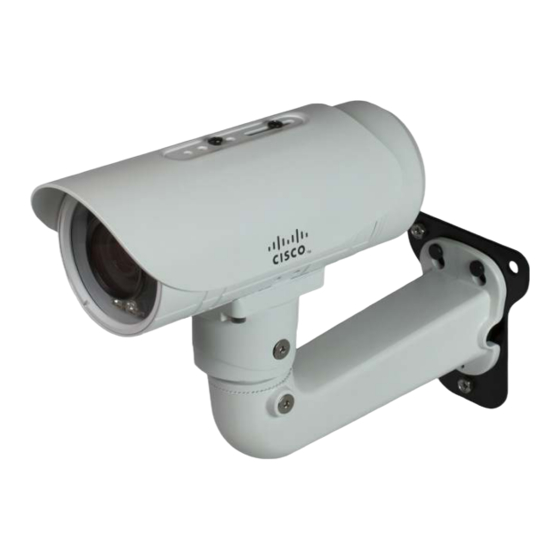
Cisco 6400 Manual de instalação - Página 13
Procurar online ou descarregar pdf Manual de instalação para Servidor Cisco 6400. Cisco 6400 34 páginas. Video surveillance 6400 ip camera
Também para Cisco 6400: Ficha de dados (8 páginas)

Chapter 2
Camera Installation
This product must be connected to a power-over-ethernet (PoE) IEEE 802.3af compliant power source
Warning
or an IEC60950 compliant limited power source. Statement 353
Caution
Inline power circuits provide current through the communication cable. Use the Cisco provided cable or
a minimum 24AWG communication cable.
Note
The power adapter that you use with the IP camera must provide power that is within +/–10% of the
required power.
The equipment is to be connected to a Listed class 2, limited power source.
Note
Installing the IP Camera
To install the Cisco Video Surveillance 6400 IP Camera, perform the following steps.
Note
Use
Procedure
Attach the alignment sticker to the wall. Drill three mounting holes and one larger cabling hole into the
Step 1
wall, hammer the three included wall anchors into the holes, and secure the mounting plate with included
screws.
Attach the camera anchor bracket to the side of the IP camera with the two included screws.
Step 2
(Optional) If you want to use an external power source for the 6400 IP camera, or use external devices
Step 3
such as sensors and alarms, complete the steps in the
section on page 2-5
Step 4
Feed the cable with an RJ 45 jack through the front opening of the wall mount bracket.
Step 5
Push the spring mortise and hook the camera anchor bracket onto the groove of the wall mount bracket.
Secure the two screws on the other side of the wall mount bracket.
Step 6
Hang the wall mount bracket on the mounting plate.
Step 7
Secure the wall mount bracket to the mounting plate with the included screw.
Step 8
Connect the RJ45 jack to your network using an Ethernet cable, or to ensure a waterproof network
Step 9
connection, complete the steps in the
Adjust the angle of the wall mount bracket to achieve desired IP camera field of view.
Step 10
(Optional) Install the sun shield. For more information, see the
Step 11
page
OL-28494-01
Figure 2-1
as a visual reference for the following procedure.
before continuing to Step 4.
2-9.
"Connecting External Power and I/O Cables"
"Connecting a Waterproof Ethernet Cable" section on page
"Installing the Sun Shield" section on
Cisco Video Surveillance 6400 IP Camera Installation Guide
Installing the IP Camera
2-8.
2-3
