ARGSeguridad ZDAS-300 Manual do utilizador - Página 11
Procurar online ou descarregar pdf Manual do utilizador para Sistema de segurança ARGSeguridad ZDAS-300. ARGSeguridad ZDAS-300 16 páginas. Luxury voiced lcd alarm system

4 USER INFORMATION:
4.1 Methods of Arming and Disarming
Arming: Arming is used to arm the whole Alarm system. All detectors in the zones within
the protected area must be closed(not in alarm)in order for you to arm the system successfully.
Part Arming: Part Arming is used to partially Arm your System by arming the selected
zones in the protected area,which permits persons to remain in the premises while the system
is Part Armed.
Disarming:Disarms the system and deactivates any alarms in progress and disarms all the
zones other than the 24 hour Zones.
4.1.1. Arming and Disarming through the Keypad on the panel
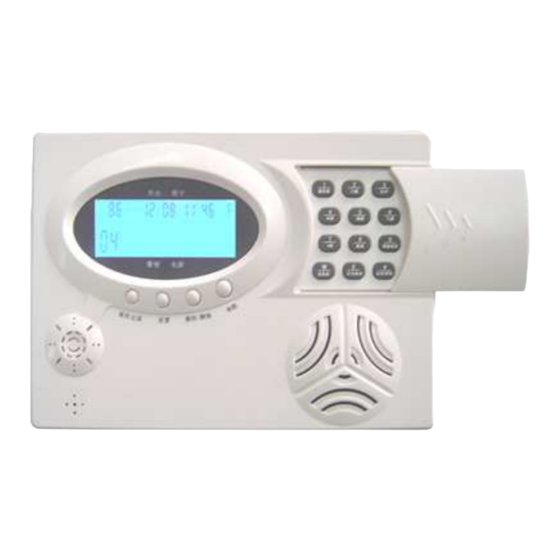
How To Arm: Pressing the ARM key on the keypad to arm the system.
How To Part Arm: Pressing the ARM Key on the Keypad for 2 seconds to Part Arm the
system.
How To Disarm: Press the DISARM key on the keypad then using the Keypad again enter
the pre-programmed 6 digit PIN code to complete the disarming operating.
4.1.2. Arming and Disarming through the Key Fob Remote Device
How To Arm: Press the Arm key on the Key Fob to Arm the system.
How To Part Arm: Pressing the Part Arm key on the key Fob to Part Arm the system.
How To Disarm: Press the DISARM key on the key Fob to Dis-Arm the system.
Note: The armed LED flashes to show that the delay timer is being activated for those
zones with delayed time. The zones without a delayed timer is armed. When the armed LED
light, it shows Arming has completed. All the exterior Zones Arm immediately when part
armed, the delay timer will not work under such circumstances.
19
3.4 Installing wired detector and its zone setting:
Various wired detector could be connected to the panel via the N.C terminal. Seven wired
connection in all, and the terminals for connection are 1\2\3\4 \5\6\7, GND is the common
terminal.
Zone setting:
After connecting well the wired detector to the panel,press the PROG key
on the keypad, a series of ----- appear on the LCD. Enter the PIN code or press the Disarm key
on a registered key fob and the word 'Sensor' will appear on the LCD.Trigger the detector you
wish to register, the panel will receive the detectors code and the word 'CODE' will appear on
the LCD.Pressing a numeric key 1 to 8 on the keypad will select the zone you wish to allocate
the detector. e.g. Pressing No 3 on the keypad will allocate the detector to Zone 3. The control
panel will then automatically allocate the detector with the next available detector number in
that Zone. So, if there are no detectors allocated in Zone 3 the control panel will allocate it as
detector No 1 and the next detector to be registered in Zone 3 will be allocated detector No 2
etc. To complete and save the information press PROG key.
( Also you could first fix two wires to terminal 1.2.3.4.5.6 or 7 and GND, then connect
them together. Disconnect them when triggered. It is ok then to replace with a wired detector
after registration.)
3.5 Checking Registration
Checking key fob and sensor registration:press the # key on the keypad,the LCD displays
word TEST, Activate a detector, a bleep noise will be heard confirming the control panel has
received the signal from the detector and the LCD will display the Detector registration No
and its Zone allocation e.g. Activate Detector No 2 in Zone 3 the LCD will
M
LOG
Figure 9
D
H
M
D
TEST
8
