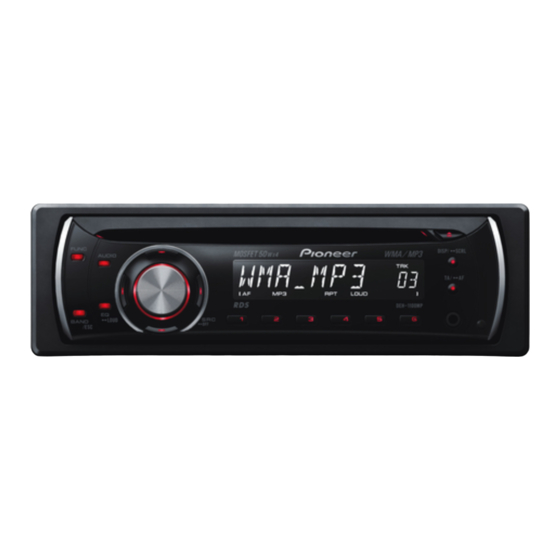
Pioneer DEH-1100MP Manual do Proprietário - Página 12
Procurar online ou descarregar pdf Manual do Proprietário para Recetor para automóvel Pioneer DEH-1100MP. Pioneer DEH-1100MP 24 páginas. Cd rds receiver
Também para Pioneer DEH-1100MP: Brochura (9 páginas), Manual de instalação (8 páginas)

Section
02
Operating this unit
Other Functions
Adjusting initial settings
Using the initial settings, you can customize
various system settings to achieve optimal per-
formance from this unit.
1
Press SOURCE and hold until the unit
turns off.
2
Press SOURCE and hold until function
name appears in the display.
3
Press FUNCTION to select one of the in-
itial settings.
Press FUNCTION repeatedly to switch be-
tween the following settings:
Clock—AUX (auxiliary input)
Use the following instructions to operate each
particular setting.
# To cancel initial settings, press BAND.
# You can also cancel initial settings by holding
down SOURCE until the unit turns off.
Setting the clock
Use these instructions to set the clock.
1
Press FUNCTION to select clock.
Refer to Adjusting initial settings on this page.
2
Press c or d to select the segment of
the clock display you wish to set.
Pressing c or d will select one segment of the
clock display:
Hour—Minute
3
Press a or b to put a clock right.
Turning the clock display on or off
You can turn the clock display on or off.
! Even when the sources are off, the clock
display appears on the display.
% Press CLOCK to turn the clock display
on or off.
Each press of CLOCK turns the clock display
on or off.
12
En
# The clock display disappears temporarily
when you perform other operations, but the clock
display appears again after 25 seconds.
Switching the auxiliary setting
It is possible to use auxiliary device with this
unit. Activate the auxiliary setting when using
auxiliary device connected to this unit.
1
Press FUNCTION to select AUX.
Refer to Adjusting initial settings on this page.
2
Press a or b to turn the auxiliary set-
ting on or off.
Using the AUX source
% Insert the stereo mini plug into the
input jack on this unit.
Selecting AUX as the source
% Press SOURCE to select AUX as the
source.
