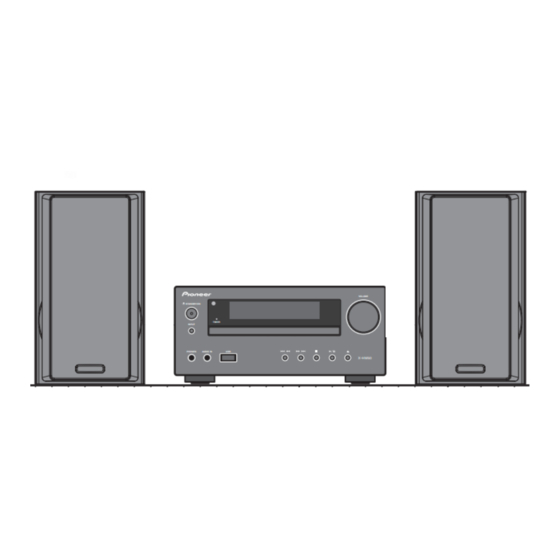
Pioneer X-HM50-K Manual de Instruções - Página 8
Procurar online ou descarregar pdf Manual de Instruções para Recetor Pioneer X-HM50-K. Pioneer X-HM50-K 28 páginas. Cd receiver system

System connections (continued)
n
Using other subwoofer
You can connect a subwoofer with an amplifier to the
SUBWOOFER PRE OUT socket.
Commercially available subwoofer
Audio cable
(commercially
Audio signal
available)
To audio input
socket
To SUBWOOFER PRE
Main unit
OUT socket
Notes
• No sound is heard from the subwoofer without a
built-in amplifier.
• Subwoofer Pre-out (audio signal): 350 mV / 10 k
ohms at 70 Hz.
n
Connecting a TV, etc.
Connect to the TV using an audio cable.
TV
Main unit
To select Line In function:
•
On main unit: Press the
Line In
is displayed.
• On remote control: Press the
button repeatedly until
(amplifier built in)
To audio
output sockets
Audio cable
(commercially
available)
To LINE
input
sockets
INPUT
button repeatedly until
AUDIO/LINE (INPUT)
is displayed.
Line In
Remote control
n
Battery installation
1
Open the battery cover.
2
Insert the supplied batteries according to the
direction indicated in the battery compartment.
When inserting or removing the batteries, push them
towards the (–) battery terminals.
3
Close the cover.
WARNING
• Do not use or store batteries in direct sunlight or
other excessively hot place, such as inside a car or
near a heater. This can cause batteries to leak,
overheat, explode or catch fire. It can also reduce the
life or performance of batteries.
CAUTION
• When inserting the batteries, make sure not to damage
the springs on the battery's (–) terminals.
• Replace all old batteries with new ones at the same
time.
• Do not mix old and new batteries.
• Remove the batteries if the unit will not be used for a
long period of time. This will prevent potential damage
due to battery leakage.
• Do not use rechargeable batteries (nickel-cadmium
battery, etc.).
• Installing the batteries incorrectly may cause the unit to
malfunction.
Notes concerning use:
• Replace the batteries if the operating distance is
reduced or if the operation becomes erratic. Purchase 2
"AAA" size batteries (UM/SUM-4, R3, HP-16 or similar).
• Periodically clean the transmitter on the remote control
and the sensor on the unit with a soft cloth.
• Exposing the sensor on the unit to strong light may
interfere with operation. Change the lighting or the
direction of the unit if this occurs.
• Keep the remote control away from moisture, heat,
shock, and vibrations.
• When disposing of used batteries, please comply with
governmental regulations or environmental public
instruction's rules that apply in your country or area.
n
Test of the remote control
Check the remote control after checking all the connections.
Point the remote control directly at the remote sensor
on the unit. The remote control can be used within the
range shown below:
Remote sensor
7 m
8
STANDBY/ON
TIMER
INPUT
PHONES
AUDIO IN
USB
VOLUME
X-HM50
