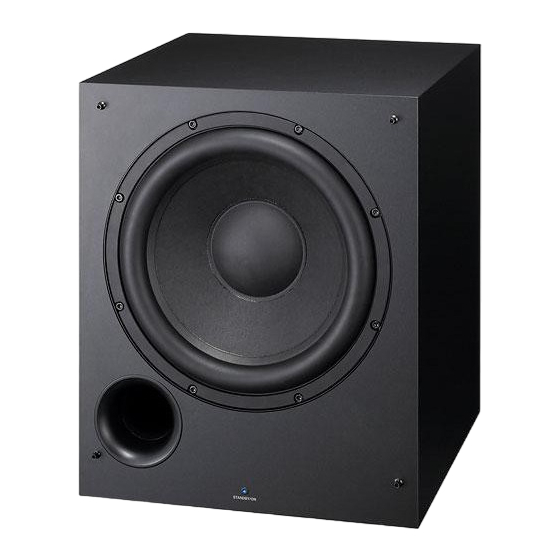
Pioneer SW501 - Powered Subwoofer Manual de serviço - Página 7
Procurar online ou descarregar pdf Manual de serviço para Sistema de altifalantes Pioneer SW501 - Powered Subwoofer. Pioneer SW501 - Powered Subwoofer 37 páginas. Powered subwoofer
Também para Pioneer SW501 - Powered Subwoofer: Especificações (1 páginas), Especificações (1 páginas), Instruções de utilização (2 páginas)

5
2.2 PANEL FACILITIES
QQ
3 7 63 1515 0
FRONT PANEL
1 Power Indicator (STANDBY/ON)
Lights blue when the power has been switched ON.
When AUTO STANDBY switch is set to ON, lights blue
whenever the speaker receive an audio signal. If the
power is switched OFF only briefly, the indicator lights
blue when power is restored. If no signal is present for
more than12 minutes, the subwoofer automatically
reverts to standby mode and the power indicator lights
red. If, subsequently, a signal is received, power
TE
L 13942296513
automatically comes back on and the power indicator
lights blue.
NOTE:
• If you are planning on switching the unit OFF for a long
period of time, make sure to check that the indicator light
has gone out after switching OFF.
REAR PANEL
www
2 Power switch (POWER)
Switches the subwoofer between ON and OFF.
.
5
http://www.xiaoyu163.com
6
STANDBY/ON
1
2
POWER
3
MAX
VOLUME
MIN
200 Hz
CROSSOVER
50 Hz
4
5
ON
BYPASS
OFF
6
PHASE
ON
AUTO
7
STANDBY
OFF
LINE LEVEL
OUTPUT
INPUT
8
9
10
x
ao
u163
y
i
6
http://www.xiaoyu163.com
7
2 9
8
3 Volume knob (VOLUME)
Sets the subwoofer volume.
• Turn the knob slowly from the MIN position.
• With this unit, the bass level can be independently
set, so do not turn up the bass on the AV amplifier.
4 Crossover knob (CROSSOVER)
When using the subwoofer, set the upper frequency limit
for the subwoofer (50 Hz to 200 Hz) so that it
complements the output from your other speakers.
When using the bass management features of an AV
receiver, set to BYPASS ON in order to use the low-pass
filter of the AV receiver for high quality sound.
5 Bypass switch (BYPASS)
When set to ON, the audio signal is routed to the woofer
unit, bypassing the amplifier's crossover circuit.
6 Phase switch (PHASE 0º /180º)
When set to 180º, the output phase becomes the reverse
of the input signal, and when set to 0º, it is in the same
phase as the input signal.
• Normally, the switch is set to 0º.
But when the sound connection between the subwoofer
and the left and right speakers sound unnatural, try
switching to 180º and set the switch in the position
where the sound is natural.
• When using two or more subwoofers together, make
sure that the phase switch of all of them are set
Q Q
to the same position.
3
6 7
1 3
1 5
7 Auto Standby switch (AUTO STANDBY)
Switches the Auto Standby feature on/off.
When switched ON (the default setting is OFF), the Auto
Standby feature becomes active. In this mode, if there is
no input signal for 12 minutes the system automatically
switches to standby. The power is automatically switched
on again if an input signal is detected.
NOTE:
There may be cases where a connected component
outputs noise or some other non-audio signal which
causes this system to automatically power on when in
Auto Standby mode. If this happens, switch off the Auto
Standby mode and switch the system on/off manually.
8 Line Level Input terminal (LINE LEVEL INPUT)
Connect to the SUBWOOFER PREOUT terminal of
an amplifier or receiver, with the specially provided
RCA plug cord.
9 Line Level Output terminal
(LINE LEVEL OUTPUT)
Used for connecting other equipment through the
amplifier. The signal output from this jack is not affected
in any way by the settings of the various controls on
the unit.
co
10 AC CORD
Connect the AC cord to a AC socket (in the room).
.
S-W601
7
8
9 4
2 8
0 5
8
2 9
9 4
2 8
m
8
9 9
A
B
C
9 9
D
E
F
7
