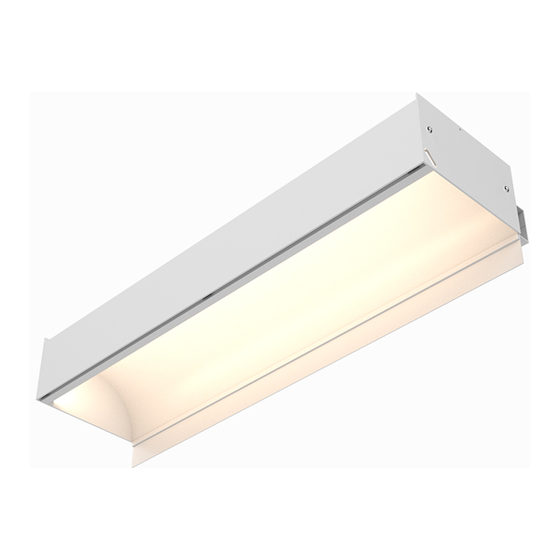
CALI alumLEDs ALS500T-RMW-HC Manual de instruções de instalação - Página 12
Procurar online ou descarregar pdf Manual de instruções de instalação para Luz exterior CALI alumLEDs ALS500T-RMW-HC. CALI alumLEDs ALS500T-RMW-HC 16 páginas.
Também para CALI alumLEDs ALS500T-RMW-HC: Manual de instruções de instalação (16 páginas)

1
Make cuts to extrusion and lens if necessary. Do not cut PCB, wiring, or
accessories. Only use a miter saw equipped with a blade for cutting metal.
Note: If applicable, remove Connector Blocks from extrusion before cutting.
2
If applicable, insert one Allen Screw with Lock Washer into each Male Block.
Note: Ensure sequence labeling is in the correct sequence (A, B, C, etc.)
CALIFORNIA ACCENT LIGHTING, INC.
2820 E. Gretta Lane, Anaheim, CA 92806
ph. 800.921.CALI (2254) | fx. 714.535.7902 | [email protected] | calilighting.com
© CALI. All rights reserved. CALI reserves the right to make changes or withdraw specifications without prior notice.
Allen Screw
Lock Washer
Sequence Labeling
ALS500T-RMW-HC
3
Position luminaires together and align the screw of the Male Block to meet the
Female Block. Tighten Allen Screws using provided Allen Wrench to close the
gap until luminaires meet. Only tighten screws until extrusion edges meet with
no gaps. Over-tightening screws will create separation at the seam.
Tip: One person holds the luminaire together, ensuring there is no gap, while
another person tightens screws.
Female Block
Male Block
Tighten with allen wrench
4
Connect disconnects between luminaires, if applicable. Ensure connected runs
do not exceed load of power supply.
Note: Refer to Electrical section on first page for details on calculating load.
INSTALLATION INSTRUCTIONS
Connecting Continuous Runs
Quick
Disconnects
Sequence Labeling
Extrusions aligned
5 / 20 / 2021 / Rev 3
Page 12 of 16
