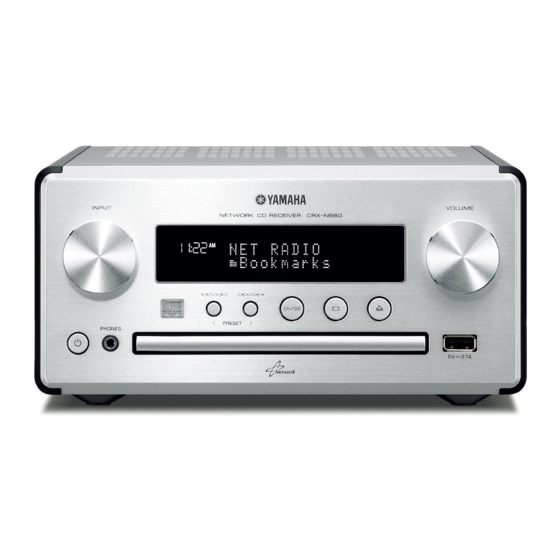
Yamaha CRX-N560 Procedimento de atualização do firmware - Página 4
Procurar online ou descarregar pdf Procedimento de atualização do firmware para Recetor Yamaha CRX-N560. Yamaha CRX-N560 4 páginas.

[ 3. Troubleshooting ]
In case error message appeared during the update and unable to power on, perform
following update procedure.
STEP 1
Copy the update file to a USB thumb drive
Unzip the downloaded file and copy to the root directory of a USB thumb drive.
Be sure to delete all other files in a USB thumb.
STEP 2
Insert the USB thumb drive on the front panel
In this step, AC power cable needs to be disconnected. The disconnection needs to
be kept for several minutes.
STEP 3
Enter firmware update mode
Connect AC power cable to AC outlet, while pressing
"USB UPDATE" will be shown in the front panel display.
Firmware update will be started automatically.
note:
DO NOT
In case the power is accidentally cut off, perform the update procedure from STEP 1
again.
Update is completed when "Update success.", "Please...", "power off!" is
displayed alternately. Then, power off the unit.
STEP 4
Confirm updated firmware version
Power on and press the OPTION button on the remote control and select
"System Config" using the UP/DOWN buttons. Press ENTER and select "Firm
Version" accordingly. Press ENTER again to confirm that the firmware version has
been updated.
Firmware Update Procedure for
CRX-N560/N560D (MCR-N560/MCR-N560D)
interrupt the power or press any buttons during the update.
button.
