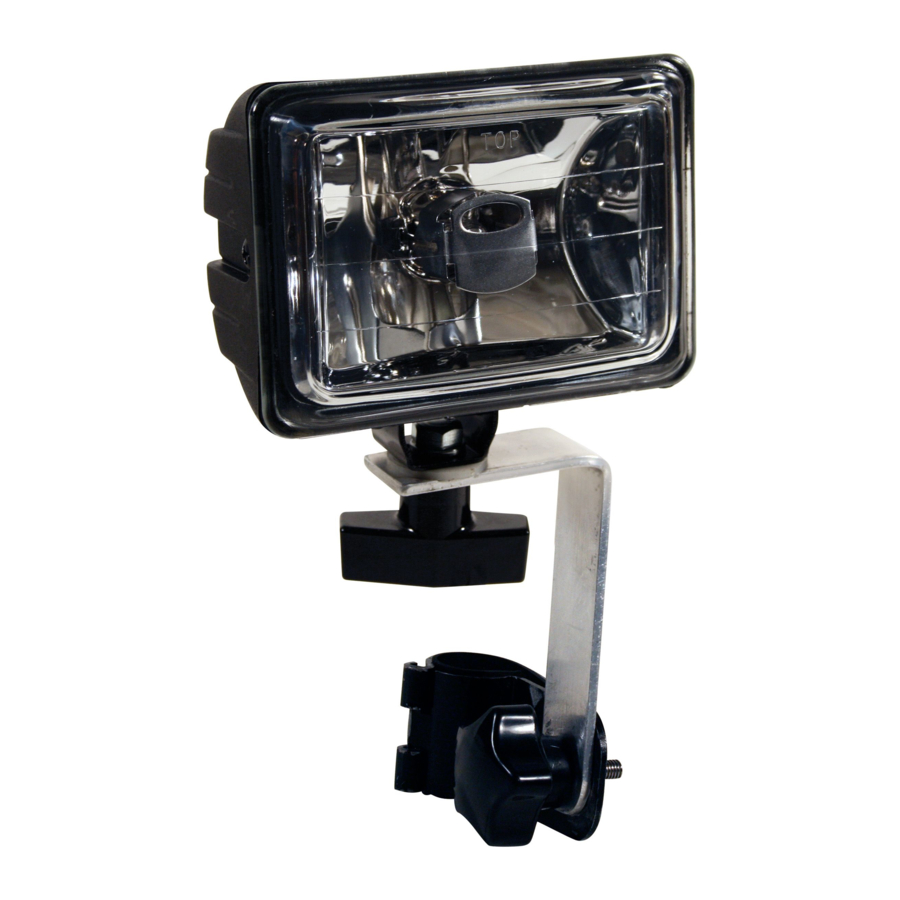
ARNOLD 490-241-0009 Manual
Procurar online ou descarregar pdf Manual para Equipamento de iluminação ARNOLD 490-241-0009. ARNOLD 490-241-0009 2 páginas. Snow thrower accessories

490-241-0009
SNOW THROWER LIGHT
FITS 179cc, 208cc, 277cc, 357cc and 420cc MTD AND CRAFTSMAN BRANDED SNOW
THROWER ENGINES WITH ALTERNATORS, AND ALL TECUMSEH AND BRIGGS & STRATTON
SNOW THROWER ENGINES WITH ALTERNATORS.
Contents of Package
Part Numbers shown in parentheses
10mm Bolt (1)
Star Handled Bolt (1)
710-1313
710-04862*
Nylon Washers (2)
Zip Ties (2)
750-05236*
926-0240
725-04913 †
725-1629 †
or
Light Housing Assembly (1)
925-04848
* Available as part of Hardware Pack 753-05959
† Part of Light Housing Assembly 925-04848
Adjustments
The angle of the light can be changed by tilting the light housing assembly forward or backward
and left or right, or by moving the L-bracket up and down.
If the vibration causes the light kit to move or become loose on the handle, add extra pieces of
rubber between the snow thrower handle and the hinged clamp to absorb the vibration.
If the wires from the light do not reach their connection points, a small cut in the casing around
the wires allows the casing to be pulled apart, freeing up more wire length.
Rubber Shim, 3/4" long
Rubber Shim, 3-3/4" long
735-04166*
735-04167*
Lock Washers (2)
Steel "L" Bracket (1)
936-0171
790-00350*
Adapter Wire**
2-Piece Hinged Clamp (1)
925-04872
790-00354* & 790-00355*
** (For use with snow throwers equipped
with Tecumseh or Briggs & Stratton engine)
Installation
The Light Kit can be mounted on the crossbar of the lower handle or either the upper right or left handle.
NOTE: Be sure that the location you choose allows you enough wiring to reach the alternator plugs on the engine and that the light kit does not
interfere with the operation of the snow thrower.
1.
Rubber Shim
Determine which location on the handle tube works
best for you. Put the 3/4" rubber shim there, then
place the hinged clamp over it, making sure the
hinges are over the rubber shim. (Push hinges
together with fingers, or pliers if necessary.)
NOTE: If you have a 7⁄ 8" handle you will need to wrap
the rubber shim (3-3/4" long) around the handle first
to ensure a proper fit.
4.
Wind the two covered wires around the lower
handle and down to the alternator plugs on the
engine. Secure them with zip ties.
NOTE: On some models, you may have to pivot the
snow thrower forward and reach between the front
of the engine and the auger housing to access the
alternator plug. On single-stage models, it is easiest
to remove the belt cover to access the alternator
plug. Refer to your Operator's Manual for instructions.
2.
Lock Washer
Nylon Washer
Mount the "L" bracket and secure the hinged
clamp with a nylon washer, lock washer and
the 10mm bolt.
5.
Adaptor
Wire
Light Wire
Remove the cap/plug from the alternator socket
(if present) and plug the light wire into the
alternator socket.
NOTE: If your snow thrower is equipped with a
Tecumseh or Briggs & Stratton engine that uses a
single line adapter wire, install the adaptor wire on
the end of the light wire then plug the adapter wire
into the alternator plug. See Fig. 5
3.
Nylon Washer
Lock Washer
Mount the light housing assembly to the "L" bracket
using a nylon washer, lock washer and the star
handled bolt.
6.
Ground Wire
Engine Screw
Secure the ground wire to a bolt located on
the engine. Select a bolt that is not securing a
gasket.
NOTE: If the ground wire cannot not reach an engine
screw, a small cut in the casing around the wires
allows the casing to be pulled apart, freeing up more
wire length.
