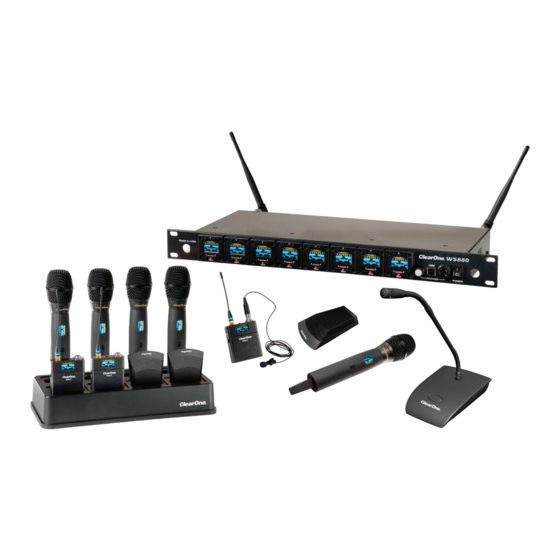
ClearOne WS840D-M610 Manual de início rápido - Página 7
Procurar online ou descarregar pdf Manual de início rápido para Sistema de microfone ClearOne WS840D-M610. ClearOne WS840D-M610 13 páginas.

Transmitters:
HAND-HELD MICROPHONE:
2
1
1. Heads: Three (3) choices of microphone capsules are available:
H-13 (dynamic, super cardioid for performance)
H-15 (dynamic cardioid for performance)
H-18 (condenser cardioid for conferencing)
Condenser heads are more "transparent" and do not require the microphone to be held as close to the mouth.
2. Display: OLED display is used to program and display the current status of the transmitter functions.
3. Switch: User programmable to toggle on/off, on/mute/ or on/on.
4. Battery and Control Cover: Unscrew counter-clockwise and gently slide open.
5. Antenna Cover: Do not hold the antenna cover. Your hand will shield the RF signal and cause poor audio
performance.
6. IR Sensor Port: The IR sensor is used to transfer channel settings and a random encryption key from the
receiver to the transmitter.
7. Select button: Press this button to select a function. The first press activates the first edit able function in the
tree. Press again to move to the next edit able function.
8. Parameter Up: Press this button to increase the value of the selected function.
9. Parameter Down: Press this button to decrease the value for the selected function.
10. USB Port: Plug a micro USB cable into the USB port to charge the batteries or upgrade the firmware.
11. Batteries: (not shown) AA NiMH, 2500-mAh or greater is recommended.
12. Battery Door: Open position.
BELT PACK:
1. Antenna: Length and style varies with the transmitters model number. Antennas are field replaceable to
improve reliability and redundancy.
2. Programmable Switch: Toggle on/off, on/mute/ or on/on.
3. Microphone Connector: TA4 mini XLR style: ClearOne offers a full range of lavaliere and headset mics for
optimal performance of your ClearOne transmitter. Works with both snap in and screw-in microphones.
4. Display: OLED display is used to program and display the current status of the transmitter functions.
5. IR Sensor Port: The IR sensor is used to transfer channel settings and a random encryption key from the
receiver to the transmitter.
6. Select: Press this button to select a function. The first press activates the first edit able function in the tree.
Press again to move to the next edit able function.
7. Parameter Down: Press this button to decrease the value for the selected function.
8. Parameter Up: Press this button to increase the value of the selected function.
9. Batteries: AA NiMH, 2500-mAHr or greater is recommended.
10. Battery Door Locks: To open, press both at the same time and lift the door open. To close, snap the door closed.
11. USB Port: Plug a micro USB cable into the USB port to charge the batteries or upgrade the firmware.
12. Belt-Clip: Spring-loaded clip for attaching the transmitter to a belt or similar object. Spring pressure presses
the clip into two holes in the transmitter body. Pull them out to remove or reverse the clip. Exercise caution to
prevent injury or scratching the case.
13. Contacts: Charging contact points for the docking station.
7
3
4
4
5
6 7 8
s
3
2
1
4
9
10
10
6
8
9
7
10
11
12
11
12
6
8
7
9
13
13
