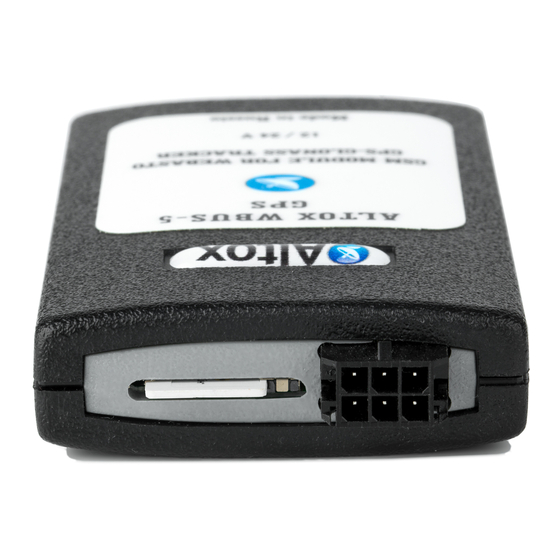
Altox WBUS-5 Manual operacional
Procurar online ou descarregar pdf Manual operacional para Módulos GSM/GPRS Altox WBUS-5. Altox WBUS-5 4 páginas.

General Guide for Installation
- Install the device as far as possible from metal parts and wiring
Altox
harnesses.
- Recommendation: connect device supply directly to the OBD-II connector
wires where pin 16 is +12В, pin 4 is GND (common).
- Analog output AN commutates at +12V. It is used to start some heaters
using an analogous signal and to connect status LED located in the button
from the package.
- Auxiliary output OUT commutates at GND. It is used to connect a coolant
pump or the interior's heater via a power relay. It is switched on with the
delay (TIME2 setting) and/or based on the coolant temperature (LTEMP1
setting) after the heater is switched on. It is switched off with the delay
(parameter TIME3) after the heater is switched off.
- If there are other control units on the bus, it is recommended to connect
the module's control wire (blue) via normally open signaling relay
controlled by output OUT.
In this case you should activate setting SEPARLINE1 that activates this relay
before the data exchange.
O p e r a t i o n a l M a n u a l
- In some vehicles heater's power supply might be switched off when the
car is not moving. In this case you might need to "wake" it up by sending a
pulse signal. You should switch output OUT to impulse mode and set pulse
duration using setting PULSEOUT. The output is activated only when the
ALTOX WBUS-5
heater starts.
-If you need to implement additional options of remote control of output
OUT (for example, to block engine remotely) activate setting SEPAROUT1.
It switches the output mode into manual control mode (SMS-commands:
ACTIVATE / DEACTIVATE).
In this mode setting KEEPOUT1 activates option to save and to
subsequently restore of output OUT state when the module's power supply
is switched off and then switched on, respectively.
Please indicate the place of ALTOX module's location in the vehicle for
possible maintenance:
Authorized Service:
Installation Date:
