3M 710 Manual de instruções - Página 13
Procurar online ou descarregar pdf Manual de instruções para Projetor 3M 710. 3M 710 20 páginas. Splicing rig
Também para 3M 710: Brochura e especificações (4 páginas), Especificações (4 páginas)

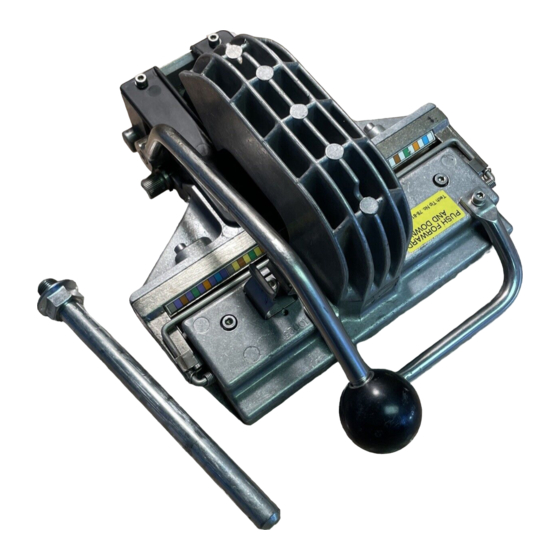
6.4 Crimp the module combination together by
squeezing the handles of the 710 bridge module
to 3M 710-BSP Splice Presser together until the
factory-set torque handle "clicks," indicating a
complete crimp. This must be done three times, first
in the center of the module combination, and then
sequentially once on each end.
Note: If you don't hear or feel the factory set torque
handle click while squeezing the handles, the
crimp may not be complete. Reduce the height of
the presser jaws by turning the height adjustment
nut and repeat the crimping sequence.
6.5 Check visually to confirm complete pressing of the
bridge module onto the splice or half-tap module. If
necessary, complete the assembly using additional
crimps.
7.0 Bottomless Splicing with 3M
Bottomless Splice Module Support
7.1 Place a gray bottomless splice module support
into the splicing rig. The large gaps go to the side
opposite the color code guide. Push in the "L" clip
knob to secure the bottomless module support.
7.2 Place a straight or straight/half-tap module body into
the bottomless support. The module latches fit into
the cuts and face the color code guide.
78-815-304--E
710 25-pair Modules using the Gray
™
13
