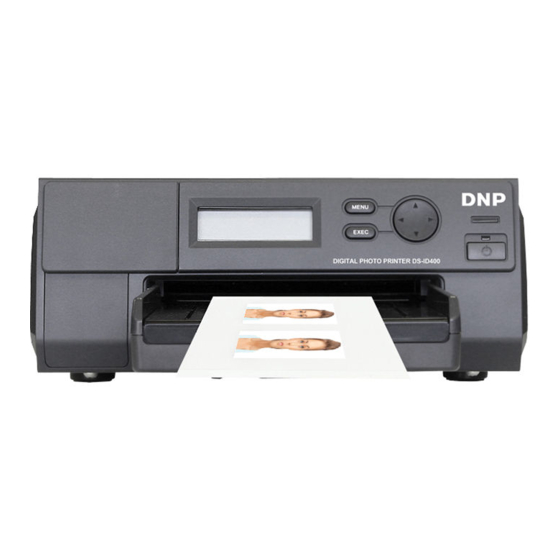
DNP DS-ID400 Manual de definições - Página 5
Procurar online ou descarregar pdf Manual de definições para Impressora DNP DS-ID400. DNP DS-ID400 7 páginas. Digital photo printer
Também para DNP DS-ID400: Como configurar (2 páginas), Manual de configuração (10 páginas), Manual de definições (10 páginas)

Creating a Template
These procedures describe how to create a template file
structure using the PNG Export Tool.
Before Using a Template
Create logo image design data
Run the PNG Export Tool to convert the template file
Save the template to an expansion SD card, and insert the
card in the printer
Select the logo you want to use using the printer's menu
The created template is now ready for use
Creating Images
Create logo image design data as follows.
The size of images to be used for templates is determined
by print size. Create image data with the following sizes.
For the UPC-X34 series: 1512 (W) × 1112 (H) pixels
For the UPC-X46 series: 1664 (W) × 2440 (H) pixels
PNG Format
24-bit RGB + alpha channel (semi-transparent images are
supported)
Note
Up to 52 pixels from the top, bottom, left and right edges
of the above image sizes may not be printed, so avoid
placing logos or text in these regions if you need them to
print.
Use guidelines in your image creating software to confirm
proper object placement.
Printable area
(example: 1560 × 2336)
52 pixels
Starting the PNG Export Tool
1
Double click
(DSIDPhotoUtility.exe).
The [DS ID Photo Utility] screen appears.
2
Select the target printer from the [Printer] pull-down
menu.
3
Click the [Browse Folder] button, and select the save
destination.
The following folders are automatically created during
file saving:
For the DS-ID400
<folder specified as output destination>
DNP\DSID400
If you want to make the template directly available for
use, select the drive letter of the expansion SD card as
the save destination.
52 pixels
Image size (example:
1664 × 2440)
Paper size (example:
102 × 152 mm (4 × 6
inches))
52 pixels
52 pixels
Creating a Template
5
