Canon L1 Руководство по процедурам установки - Страница 34
Просмотреть онлайн или скачать pdf Руководство по процедурам установки для Сканер Canon L1. Canon L1 48 страниц.
Также для Canon L1: Руководство по эксплуатации (37 страниц)

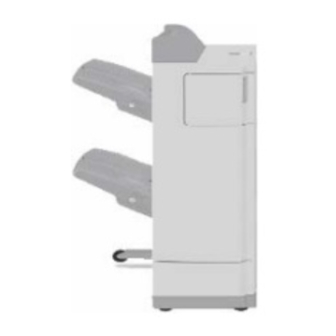
<Saddle Finisher-AE2>
1) Remove the punch lower front cover and the punch
rear cover (three screws), and remove the stepped
screw at the front and the rear; then, detach the
puncher unit and the host machine.
2) Open the front cover.
3) Mount the front foot cover [I] using a screw [2] (RS
tightening; M3 x 8).
4) Mount the lower front extension cover [3] using a
screw [4] (RS tightening: M3 x 8) and another
screw [5] (self-tapping; M4 x 12).
5) Close the front cover.
6) Mount the caster cover [6] using a screw [7] (RS
tightening: M3 x 8).
7) Mount the rear foot cover [8] using a screw [9]
(self-tapping; M4
x
12).
8) Connect the puncher unit and the host machine;
then, secure them using a stepped screw both at the
front and the rear.
9) Mount the punch lower front cover and the punch
rear cover (three screws).
10) Connect the finisher and the host machine using
an interface cable [I].
