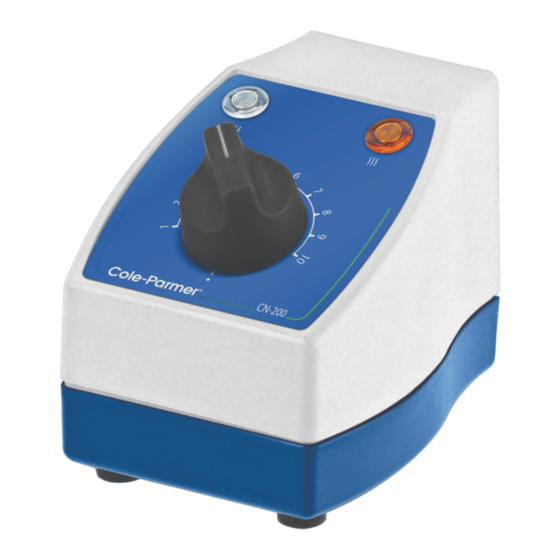
Cole Parmer Electrothermal MC5X1 Руководство по эксплуатации - Страница 16
Просмотреть онлайн или скачать pdf Руководство по эксплуатации для Контроллер Cole Parmer Electrothermal MC5X1. Cole Parmer Electrothermal MC5X1 20 страниц. Heating controller

9.5. Replacing the Controller Output lead.
9.5. Replacing the Controller Output lead.
9.5.
Replacing the Controller Output lead.
9.5.1.
Turn the controller off and remove it from the mains supply. Disconnect it from any
9.5.1. Turn the controller off and remove it from the mains supply. Disconnect it from any
9.5.1.
Turn the controller off and remove it from the mains supply. Disconnect it from any
heating resistive loads such as Heating Mantles, Heating Tapes and Cords.
heating resistive loads such as Heating Mantles, Heating Tapes and Cords.
heating resistive loads such as Heating Mantles, Heating Tapes and Cords.
9.5.2.
Turn the controller up-side down and remove the two fixing screws retaining the base.
9.5.2. Turn the controller up-side down and remove the two fixing screws retaining the base.
9.5.2.
Turn the controller up-side down and remove the two fixing screws retaining the base.
Lift the base off.
Lift the base off.
Lift the base off.
9.5.3.
Remove and retain the stiff nut / washer etc, on the earth post and disconnect the
9.5.3. Remove and retain the stiff nut / washer etc, on the earth post and disconnect the
9.5.3.
Remove and retain the stiff nut / washer etc, on the earth post and disconnect the
earth wire.
earth wire.
earth wire.
9.5.4.
Disconnect the mains out cable wires from the PCB assembly.
9.5.4.
Disconnect the mains out cable wires from the PCB assembly.
9.5.5.
Squeeze the retaining relief bush's rounded section and push the strain relief bush
9.5.5.
Squeeze the retaining relief bush's rounded section and push the strain relief bush
from inside.
9.5.4. Disconnect the mains out cable wires from the PCB assembly.
from inside.
9.5.6.
Remove the Mains output cable.
9.5.5. Squeeze the retaining relief bush's rounded section and push the strain relief bush
9.5.6.
Remove the Mains output cable.
from inside.
9.5.7.
Relocate the stain relief bush around the new Mains output cable with the smaller
9.5.7.
Relocate the stain relief bush around the new Mains output cable with the smaller
diameter towards and approximately 10mm from end of the cable outer sleeve.
9.5.6. Remove the Mains output cable.
diameter towards and approximately 10mm from end of the cable outer sleeve.
9.5.8.
Squeeze the bush and align the flats to locate through the aperture in the backplate.
9.5.7. Relocate the stain relief bush around the new Mains output cable with the smaller
9.5.8.
Squeeze the bush and align the flats to locate through the aperture in the backplate.
Note a reasonable amount of force may be required.
diameter towards and approximately 10mm from end of the cable outer sleeve.
Note a reasonable amount of force may be required.
9.5.9.
Check the fitting by pulling on the output mains cable while holding the backplate.
9.5.8. Squeeze the bush and align the flats to locate through the aperture in the backplate.
9.5.9.
Check the fitting by pulling on the output mains cable while holding the backplate.
Note: A reasonable amount of force may be required.
9.5.10. Locate the earth wire ring tag on the earth post and refit the stiff nut.
9.5.10. Locate the earth wire ring tag on the earth post and refit the stiff nut.
9.5.9. Check the fitting by pulling on the output mains cable while holding the backplate.
Note: Only replace with rated cable type specified in section 8.1. The cable contains an
Note: Only replace with rated cable type specified in section 8.1. The cable contains an
earth ring and insulated connection tags crimped on and tested by the manufacture. See
9.5.10. Locate the earth wire ring tag on the earth post and refit the stiff nut.
earth ring and insulated connection tags crimped on and tested by the manufacture. See
section Parts and Accessories to order replacement cable.
section Parts and Accessories to order replacement cable.
Note: Only replace with rated cable type specified in section 8.1. The cable
contains an earth ring and insulated connection tags crimped on and tested by the
manufacture. See Spares and Accessories section to order replacement cable.
Page 16 of 24
Page 16 of 24
16
M7044 iss 3.3
M7044 iss 3.3
