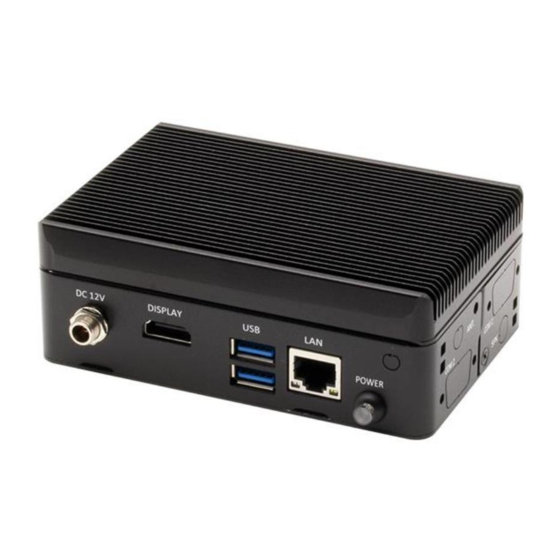
Asus AAEON PICO-APL3-SEMI Руководство по быстрой установке - Страница 2
Просмотреть онлайн или скачать pdf Руководство по быстрой установке для Материнская плата Asus AAEON PICO-APL3-SEMI. Asus AAEON PICO-APL3-SEMI 3 страницы.

Install Guide Steps
PICO-KBU4-SEMI Quick Installation Guide
Step 1: On the heatsink, remove the three plastic coverings as shown.
Step 2: Place the top chassis onto the heatsink. Note the orientation of the chassis with the heatsink. Secure with
four black screws.
Step 3: On the PICO-APL3 board, remove the nut and washer from the power input port.
Step 4: Insert the PICO-APL3 board into the
chassis assembly with the processor side toward
the heatsink. DO NOT place the CMOS battery
between the board and heatsink.
Step 6: Thread the power button cable through the hole for the power button. Plug the cable into the front panel
header (CN53 in user manual). NOTE: The white dot indicates PIN 1 connector, make sure the connector is
properly aligned. Next, gently push the power button in until it is secure (you will hear a 'snap'). Be careful not to
tangle the power button cable with the CMOS battery cable.
Step 5: Check that the I/O ports are properly
aligned. Secure board with four nickel screws.
1
