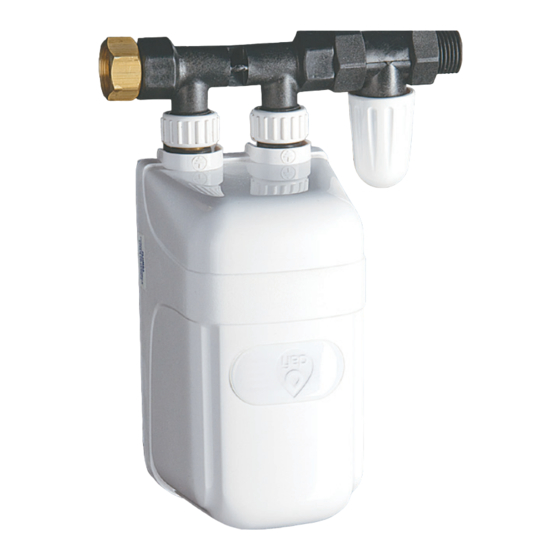
dafi IPX4 Инструкция по установке и использованию - Страница 6
Просмотреть онлайн или скачать pdf Инструкция по установке и использованию для Водонагреватель dafi IPX4. dafi IPX4 12 страниц. Electric a flow heater with an open outlet water
Также для dafi IPX4: Руководство по эксплуатации (13 страниц)

(M18x2) blind nut (Fig. 5), check whether the curling are
both valves battery, unscrew the main water shut off
valve, unscrew the valve cold water battery heater by
passing the necessary amount of water to remove
impurities and air, which are in the water system.
e) Place the strainer filter in the left stub battery (Fig. 6)
f). on two nipples (at the top of the battery M18x2)
mounted heater, and at the lower end of the faucet or
shower set (fig. 7).
g) Tighten the nut wrench heater battery avoiding tilt the
heater (Fig. 8).
WARNING!
h) After connecting the heater to a plumbing
vent heater by opening the hot water valve
battery (Fig. 9) until you are sure that the water
system there is no air.
i) Switch on the power supply ONLY after venting of
the heater / g 7.1.h point (Fig. 10). You can install the
heater DAFI on an existing wall battery bathroom or
kitchen. Battery in place of the spout can be screwed:
a) elbow with internal threads M22x1.5 and G½" which is
screwed into the battery heater DAFI (Figure 11).
b) reduction (linker spray) with internal thread M22x1.5,
and the outer G1/2'', which in turn is screwed into an
elbow G1/2', and then the battery warmer DAFI (Fig.
11b). Further assembly operations are run as in
mounting the heater on the end of a water pipe derived
from the wall.
7.2 Mounting the heater with connection
When installing the heater connection should be used
only heater DAFI degree of protection against water
ingress IPX4 (Fig. 12)
In this configuration, the connection should
precede the shut-off valve DAFI (figure 13).
To mount the heater in a connector, a battery
instead of a spout used in the connection element,
which is mounted on the pipe supplying cold water.
Before mounting the heater to mount the shut-off
fig 2
fig 3
fig 4
fig 5
fig 6
fig 7
fig 8
