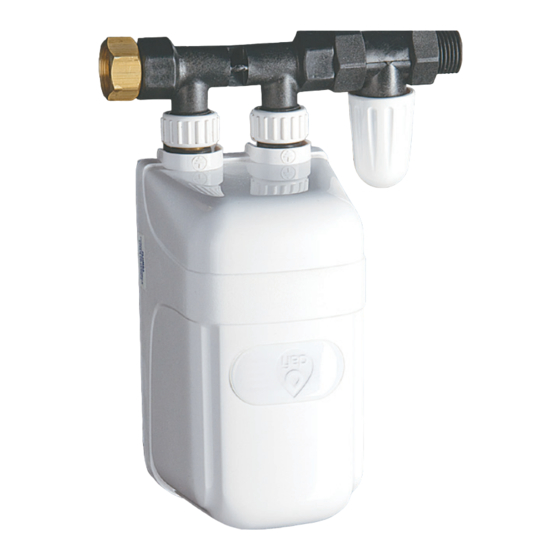
dafi IPX4 Инструкция по установке и использованию - Страница 8
Просмотреть онлайн или скачать pdf Инструкция по установке и использованию для Водонагреватель dafi IPX4. dafi IPX4 12 страниц. Electric a flow heater with an open outlet water
Также для dafi IPX4: Руководство по эксплуатации (13 страниц)

water, you should immediately shut off the water supply and turn off
the power supply to the heater. Reconnecting the power supply may
occur after venting of the heater. Do not switch on the heater if
there is a possibility that the water in the heater is frozen (as
a warning to p. 6.1).
Pollution aerator can cause:
- reduction or complete loss of water flow,
- too strong heating of water or a decrease in the flow of water, which prevents
engagement of the heater.
It is recommended that regular cleaning of the aerator with limescale
purpose of his endarterectomy.
Cleaning the aerator is very simple - consists of "pushing" the sludge by pressing
the rubber tabs aerator (fig 14). To extend the life of the heater in the left stub
battery is placed strainer filter (fig 6). Excessive water temperature increase,
a significant reduction in water flow or no flow may indicate the need to purge the
sieve filter or replacement.
It is recommended to install a mechanical filter DAFI before the water
heater DAFI.
9. Manual connection to the mains using a junction box DAFI (available
as accessory)
Heaters with a capacity of 3.7 kW according to the change to the Polish
Standard PN-EN 60335-2-35/A1:2007 can be connected to the power
supply line nieodłączalnym plug. Other heaters should be permanently
connected to the electrical system.
a connection can use the connection box DAFI
(fig. 15, fig. 16, fig. 17 and fig. 18)
a) The body of the junction box (1) into a standard
flush-mounted box for electrical equipment (2) as
shown on the box (3), press down so that the seal
body (4) it stick closely to the walls around the
perimeter and secure with bolts feet and screws (5)
(episode without gasket on the bottom of the body)
(6) must remain unsealed, used for draining likely to
collect moisture (fig 15).
b) Connect the heater (7) with cables installation (8) with a terminal block (9), fit
the hose with a pressure conduit (10) and screws (11) press Connector with
the connected and attached cable into the socket (12) in the body cans
(fig.18). Pay special attention to the correct
connection of the ground, and ensure proper
electrical connection through a strong and
secure tightening the terminals.
c) Replace the cover of the box (13). Slide the lid
on the can bottom along the heater until you
Such
.
fig 14
Fig 15
