DPCAV PANDORA Руководство - Страница 2
Просмотреть онлайн или скачать pdf Руководство для Блок управления DPCAV PANDORA. DPCAV PANDORA 7 страниц. Pan & tilt kit

Assembly Tips:
1.
You can build Pandora two ways: As a bottom (under carriage) mount or a top (cockpit view)
mount. The assembly steps for these two versions are nearly the same. Just follow the
instructions to build the version you need.
2.
Pandora's chassis construction uses simple tab and slot construction. Tabs are labeled with
single letters and the mating slots are labeled with a double letter. For example, Tab A goes to
Slot AA and Tab B goes to Slot BB. The identification text is printed on the chassis parts.
3.
For the best fit, the Tab's inside rounded corners should be filed or cut square. This will ensure
that the parts fit close together.
4.
You may use fast curing Epoxy or a soldering iron to build your Pandora chassis. The
soldering method is best suited for experienced builders, but it will reduce the assembly time
considerably. That is because there is no waiting for the adhesive to dry.
5.
Whenever you have any doubt on how something goes together, just review the various
photos. I suspect your questions will be resolved by reviewing the examples that are shown.
Chassis Assembly:
1.
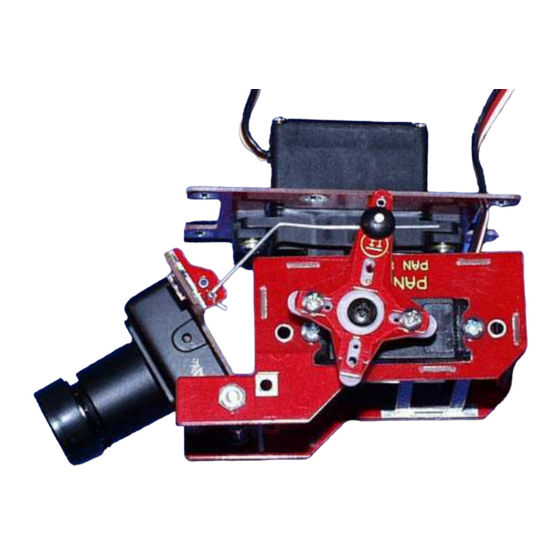
Using the details shown in Figures 1 and 2, gather
the left side panel (item 1), right side panel (item 2)
bottom chassis (item 3), front bulkhead (item 4)
and rear bulkhead (item 6). Dry fit the parts; trim
the inside corners of any tab that does not allow
proper seating in the mating slot.
Note: Be sure to install the panels so that their
circled ID numbers (
inside of the chassis. Please review the photo for
the proper position of each panel.
2.
Once everything fits properly, assemble them with
15-minute epoxy or use your soldering iron (your
choice).
Figure 4,
Solder Fillet
P
(
), www.dpcav.com
ANDORA
REV-C
â
ã
ä
å
ç
,
,
,
, and
) are on the
Note: Soldering the chassis requires a fine fillet bead of solder
along the inside seams. Do not use too much solder! Your fillets
should look smooth and appear as shown in the figure on the left.
Page 2
Figure 3, Main Chassis
©2007-2008 Jun-11-2008
