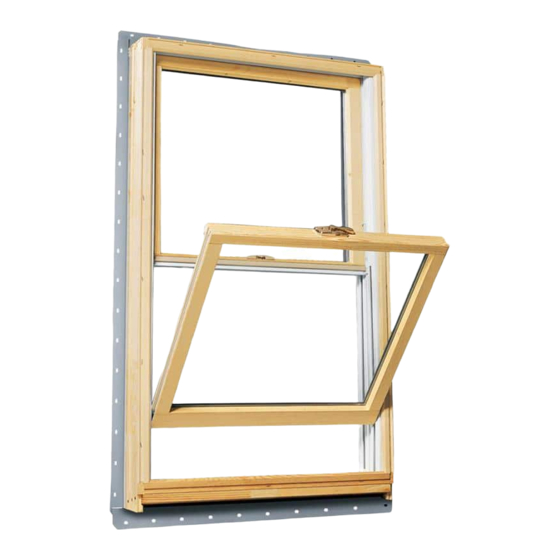
Andersen 400 Series Регулировка - Страница 3
Просмотреть онлайн или скачать pdf Регулировка для Внутренняя отделка Andersen 400 Series. Andersen 400 Series 4 страницы. Lock mechanism
Также для Andersen 400 Series: Руководство по установке и снятию (2 страниц), Краткое руководство по эксплуатации (6 страниц), Руководство по внесению изменений (2 страниц)

Hinge and Hardware Adjustments
1
Panel Horizontal Adjustment (Side to Side)
Move all
hinges IN or
OUT to correct
gap and
center panel
in frame.
• Check for equal gap between panel and frame along both sides.
• Starting with the bottom hinge, turn horizontal adjustment screw as shown
to adjust panel as needed. Repeat for remaining hinges working upward.
• Check that gap between panel and frame on latch side and hinge side is
equal to the thickness of the 5/32" hex key.
2
Panel Vertical Adjustment (Up and Down)
• Check for equal gap between panel and frame at top and bottom.
• Starting with the bottom hinge, turn vertical adjustment screw
clockwise (+) 1/2 turn and then continue turning until panel is
centered vertically in frame.
• Turn next hinge vertical adjustment screw clockwise (+) until panel
moves slightly, then turn counterclockwise (−) 1/4" turn. Repeat for
remaining hinges working upward.
0 0 05 41 3
Equal gap
along both
sides
Equal gap
along top
and bottom
During counterclockwise rotation, stop adjustment
when adjustment screw hits the back side of the cover
and resistance increases. Failure to do so could cause
product damage.
5/32"
Hex Key
Turn counterclockwise
(IN) to move panel
toward hinge side jamb.
Horizontal
Adjustment
Screw
5/32"
Hex Key
Turn counterclockwise
toward (−)
to lower panel
Vertical
Adjustment
Screw
3
NOTICE
Turn clockwise (OUT)
to move panel away
from hinge side jamb.
Turn clockwise
toward (+)
to raise panel
Bottom
View
