AudioStak ProSwitch PRSW-MONO-PCB Руководство и инструкция по установке - Страница 8
Просмотреть онлайн или скачать pdf Руководство и инструкция по установке для Блок управления AudioStak ProSwitch PRSW-MONO-PCB. AudioStak ProSwitch PRSW-MONO-PCB 20 страниц.

Groups
In a ProSwitch system, audio/video products must be arranged into Groups of similar devices. For example,
head units would be one Group, front speakers would be another. Each Group is then given a Group Number,
which set through the DIP switches on the Main Modules (PRSW-MCU-PCB). ProSwitch systems can have up to
16 groups of speakers, and up to 16 groups of components. A 'component' is any non-speaker device.
Boards
Within each Group it may be necessary to use multiple Main Modules depending on the number of products
involved. Each Main Module is able to switch up to four products. For each additional four products in that
Group, one more Main Module is needed. ADD-ON modules are connected to each Main Module to switch the
signals required by that Group. Each Main Module within a Group is given its own number, called its Board
Number. This is set using its Board Number DIP switch.
Positions
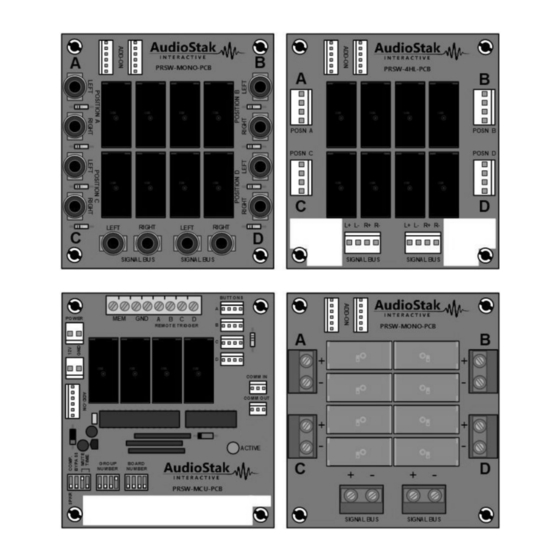
Each Main Module, together with its attached ADD-ON modules can switch up to four devices (speakers or
components). The signal connectors on the ADD-ON modules and the button connectors on the Main Modules
are all labelled A through D, and are referred to as Positions. When a button connected to Main Module is
pressed, all the signal connectors on its attached ADD-ON modules with the same Position number are selected
and become active. Each component must have all its signal connectors connected to the same position, A, B,
C, or D, on each ADD-ON module.
For example, in a 2-channel amplifier Group each Main Module would use two ADD-ON modules: one 4L
module (PRSW-RCA-PCB) for RCA inputs, and one 4H module (PRSW-4HL-PCB) for high level outputs. When the
button connected to Position A on the Main Module is pressed, Position A on that Board becomes active, and
all other Positions within that Group are deselected and disconnected. The RCA inputs for that amplifier
connected to Position A on the 4L board will become active, as well as its high level outputs connected to
Position A on the 4H board.
The signal connectors for the four Positions on each ADD-ON module can be used for either input or output
signals. For example, 4H modules are used to switch the high level outputs from head units and amplifiers, as
well as the high level input signals to speakers.
Overview – Groups, Boards and Positions
